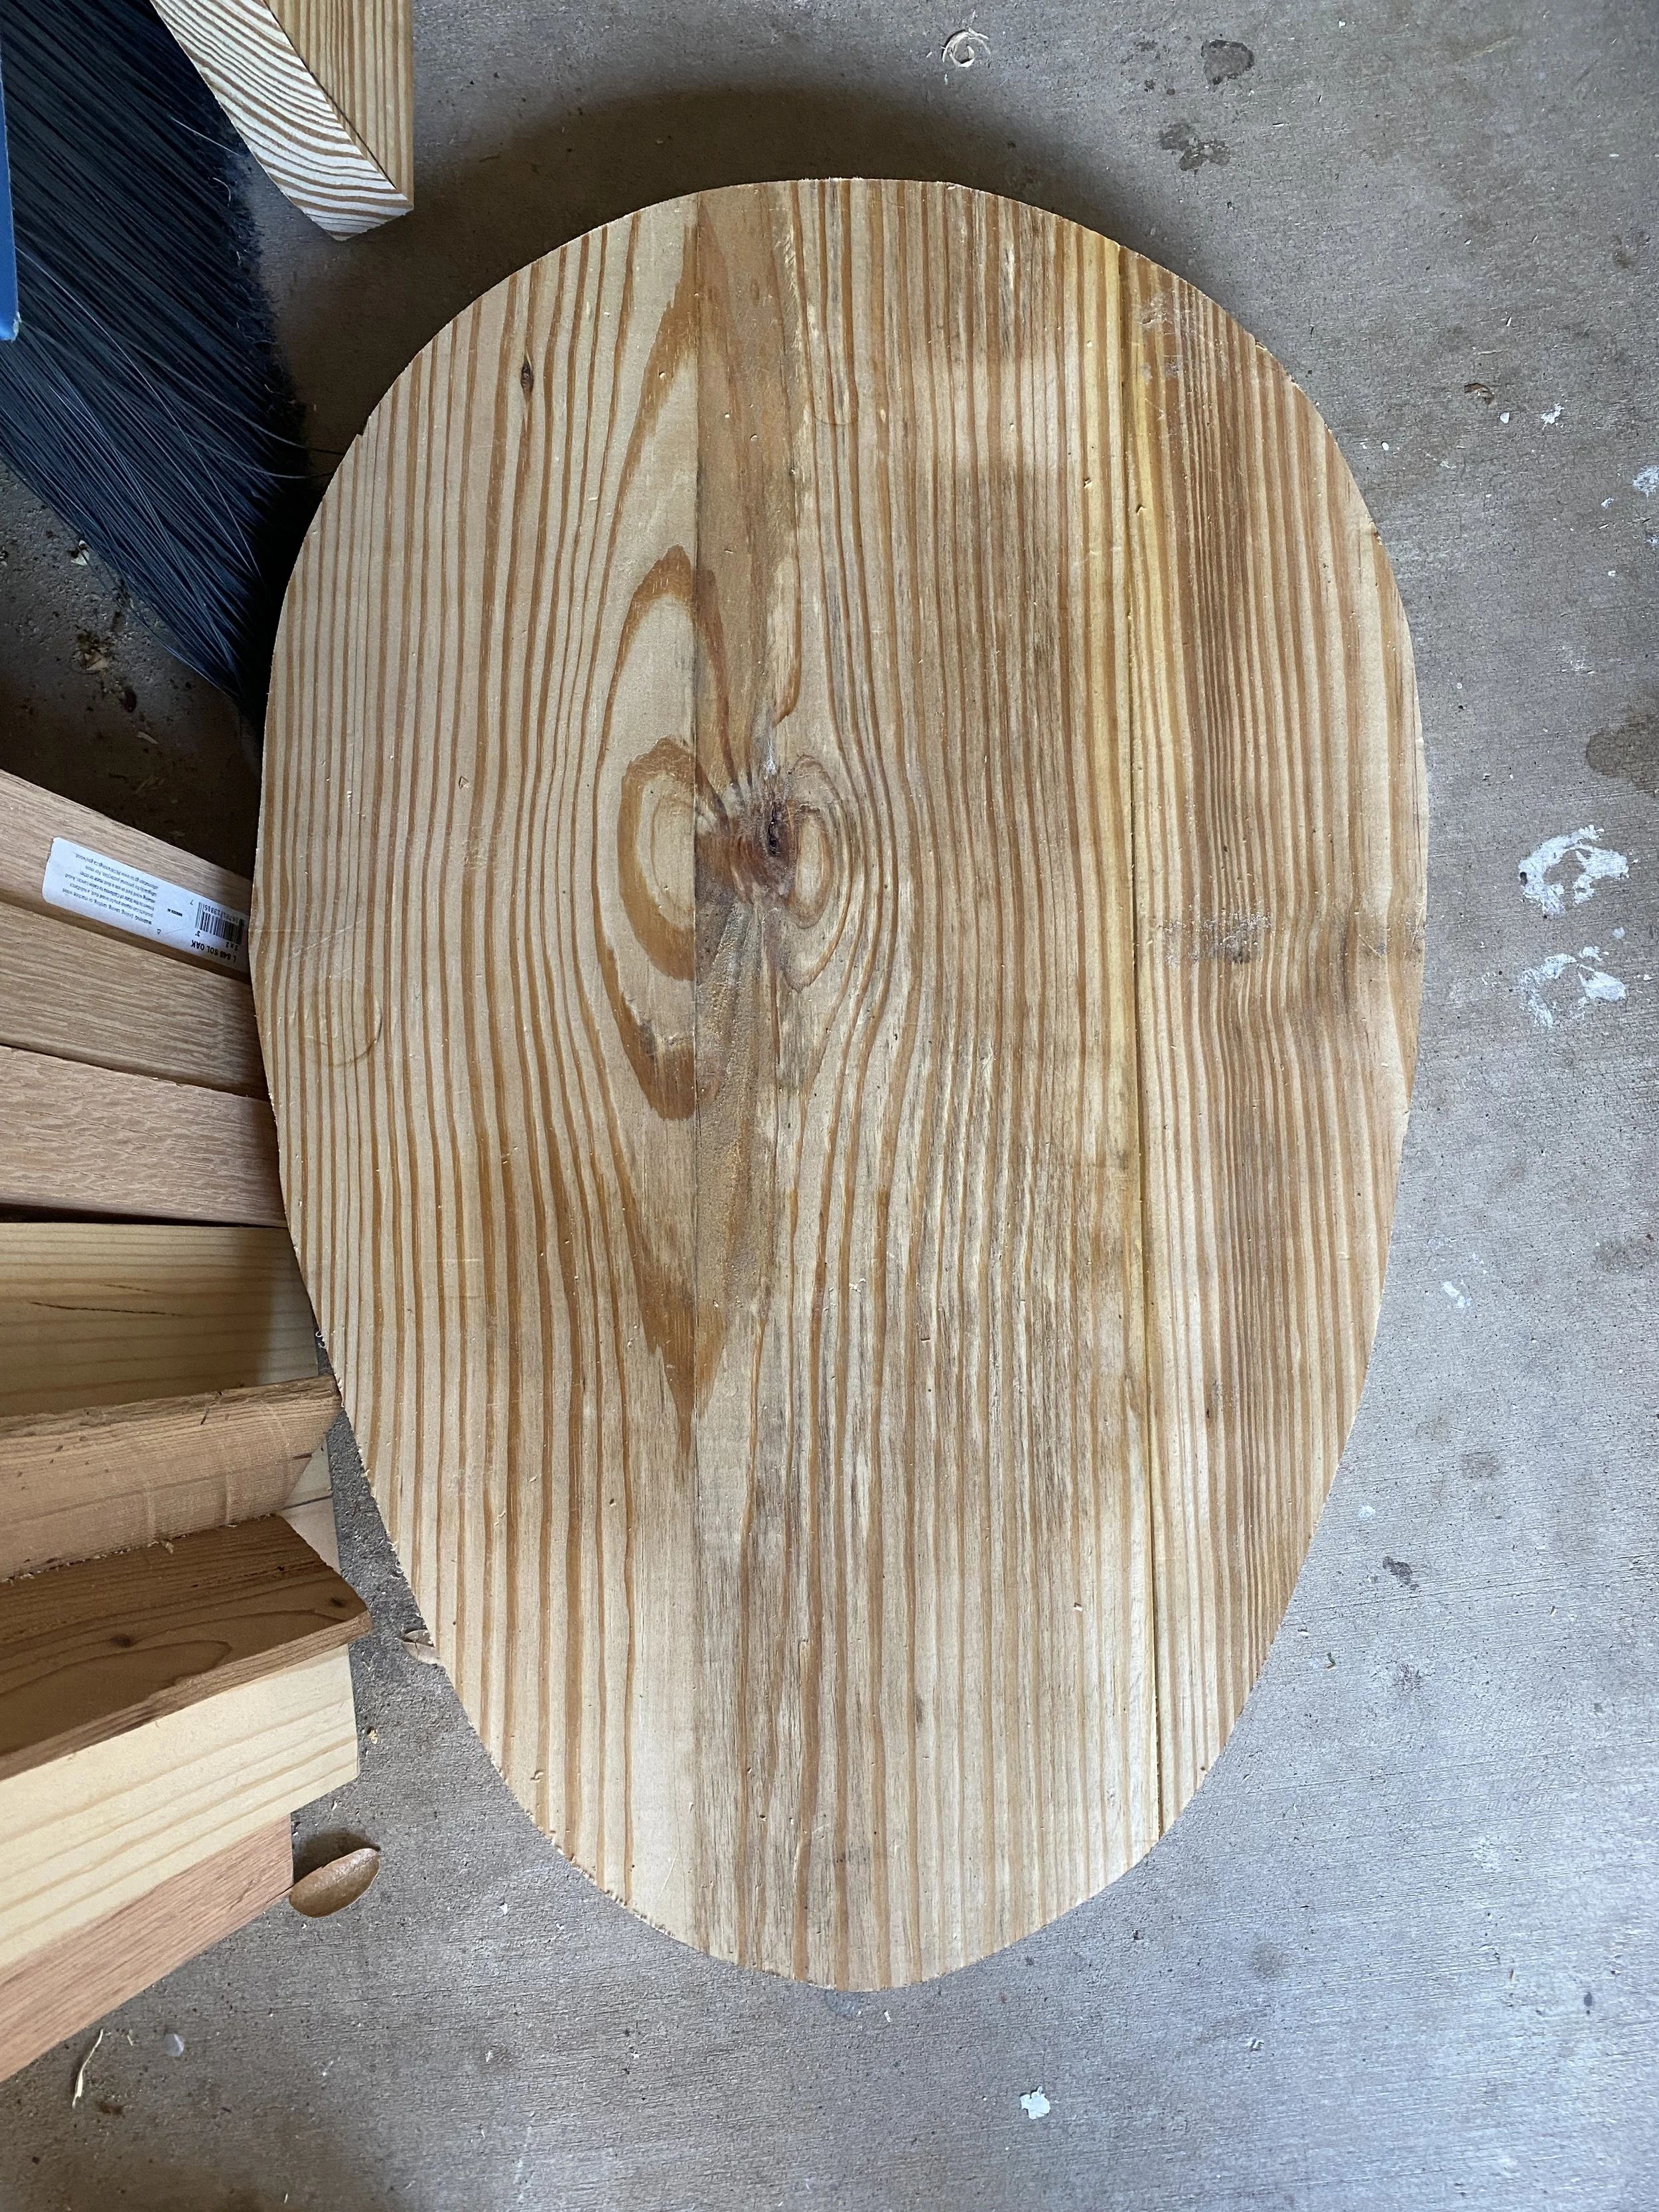
BUILDING CHAIR No. 1
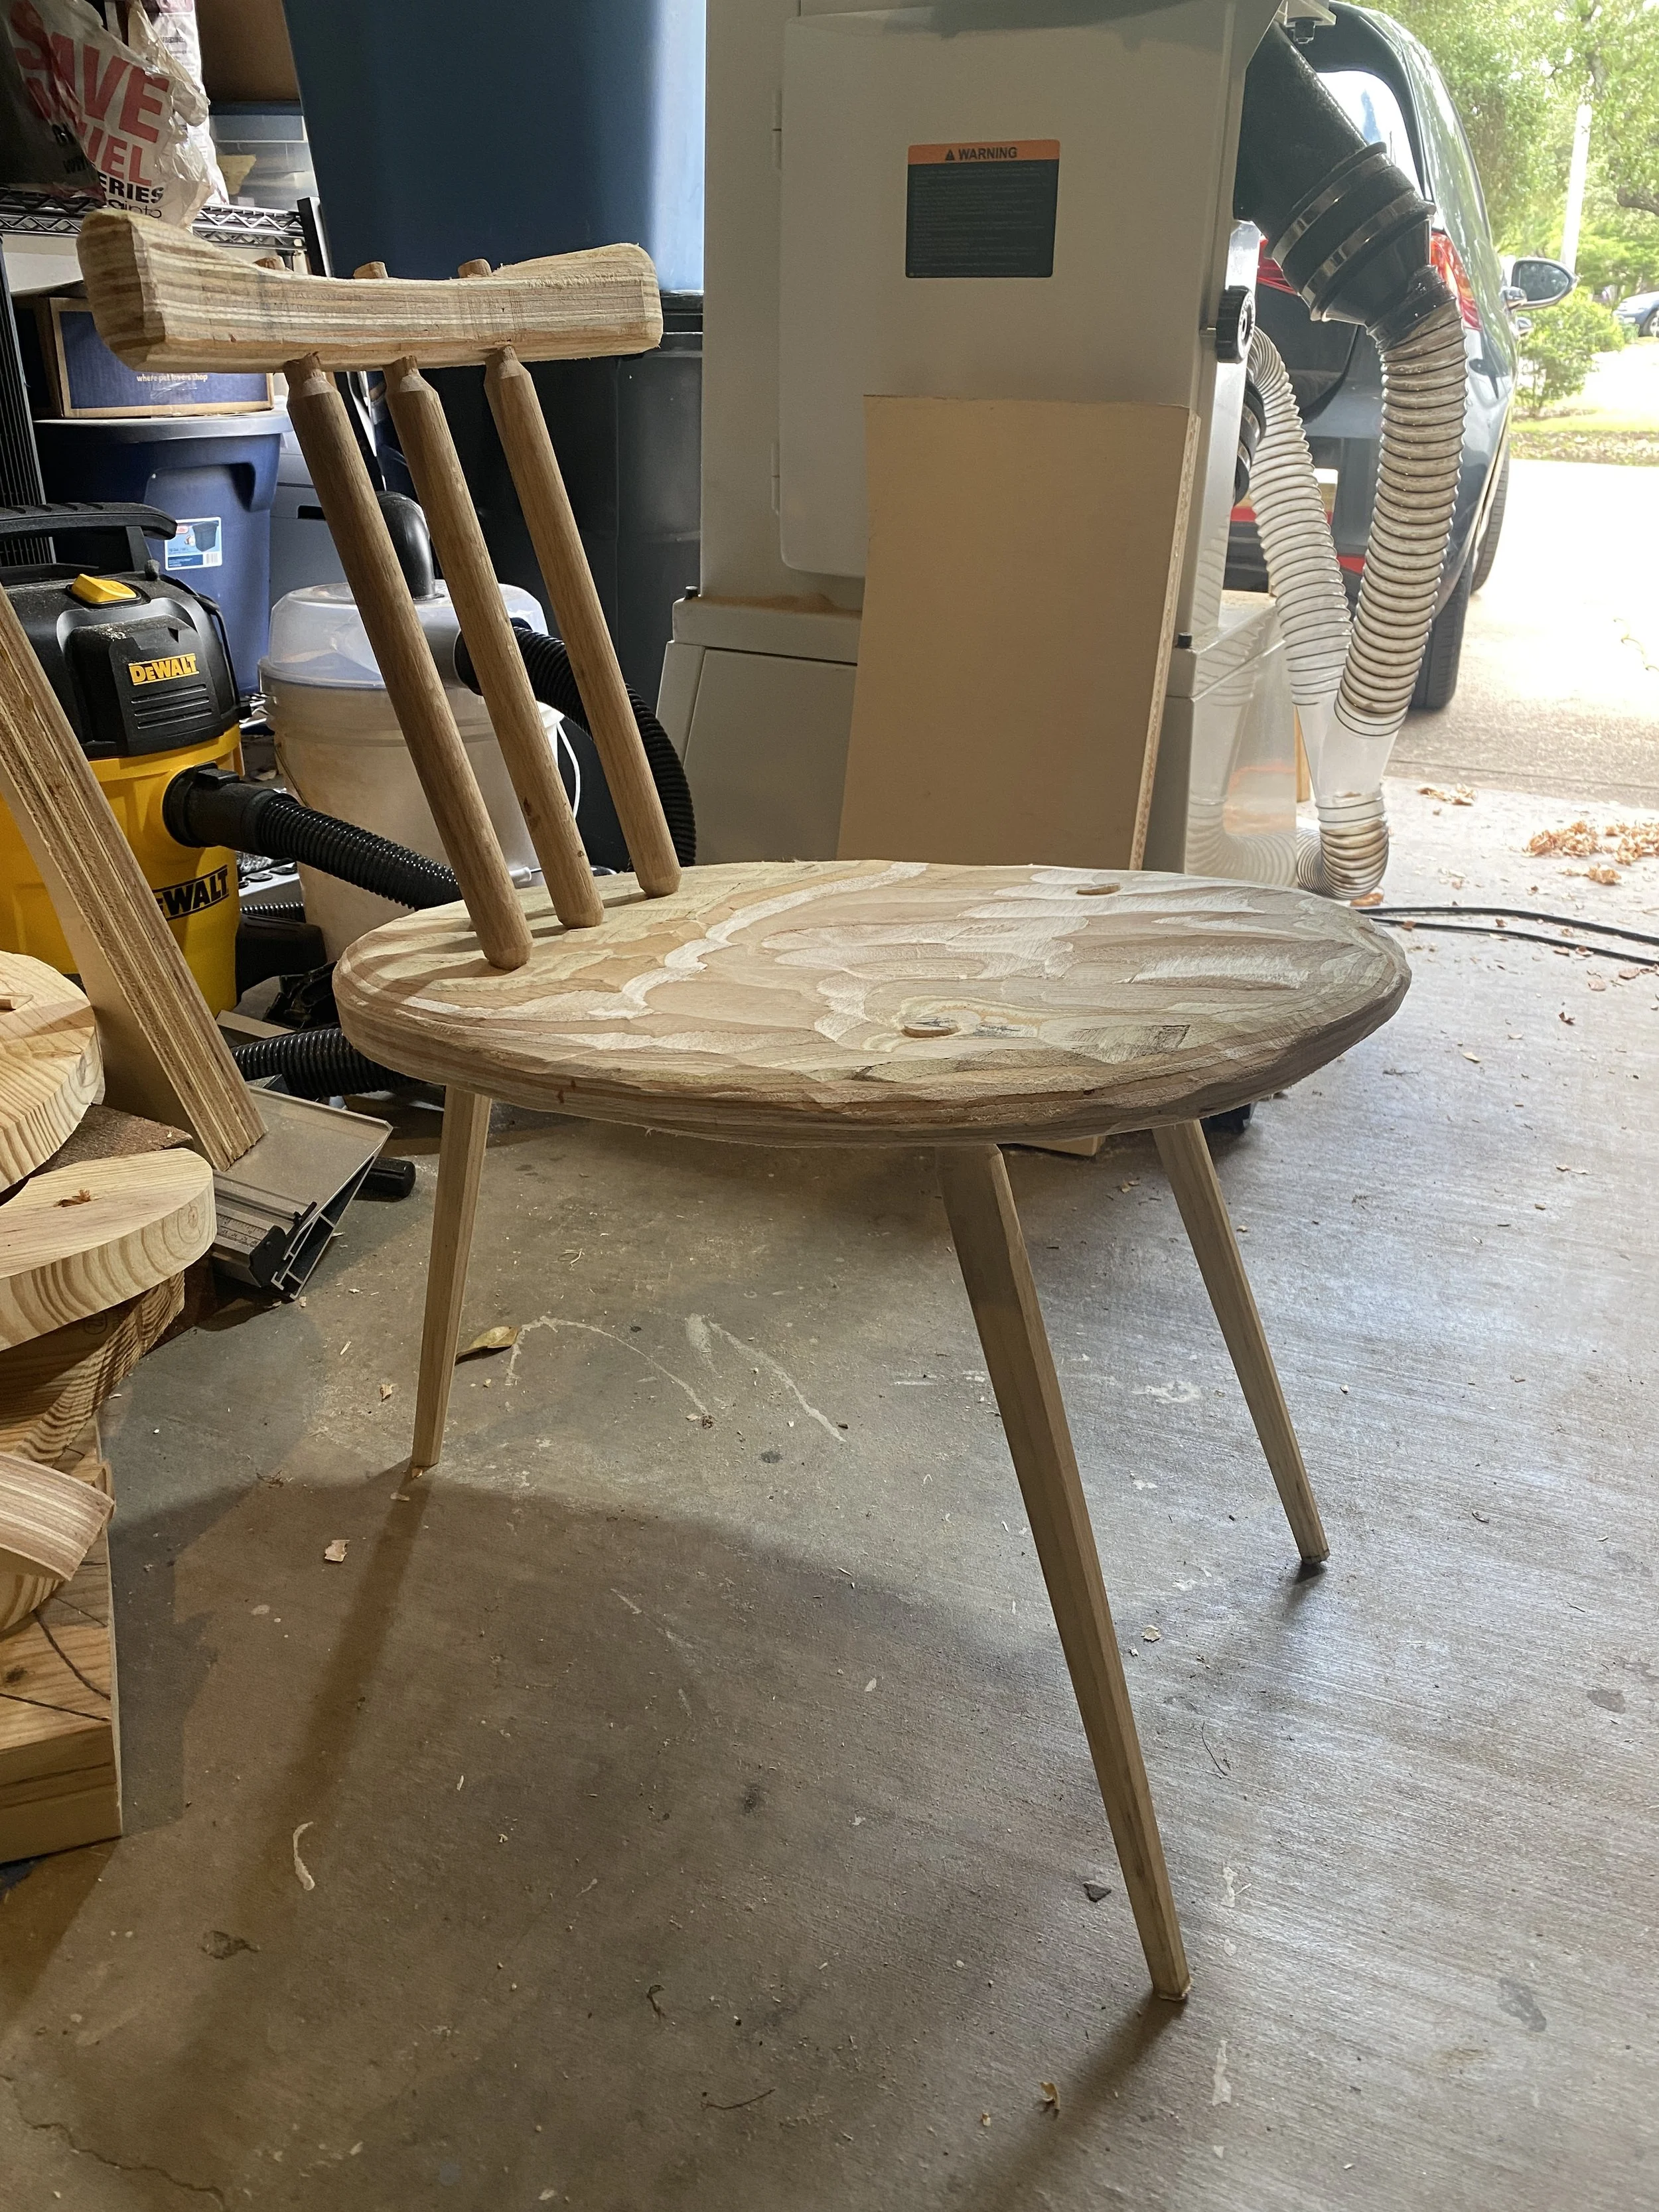
This was difficult. I hit many speedbumps. But the chair is done. It is relatively comfortable. So, it was a success!
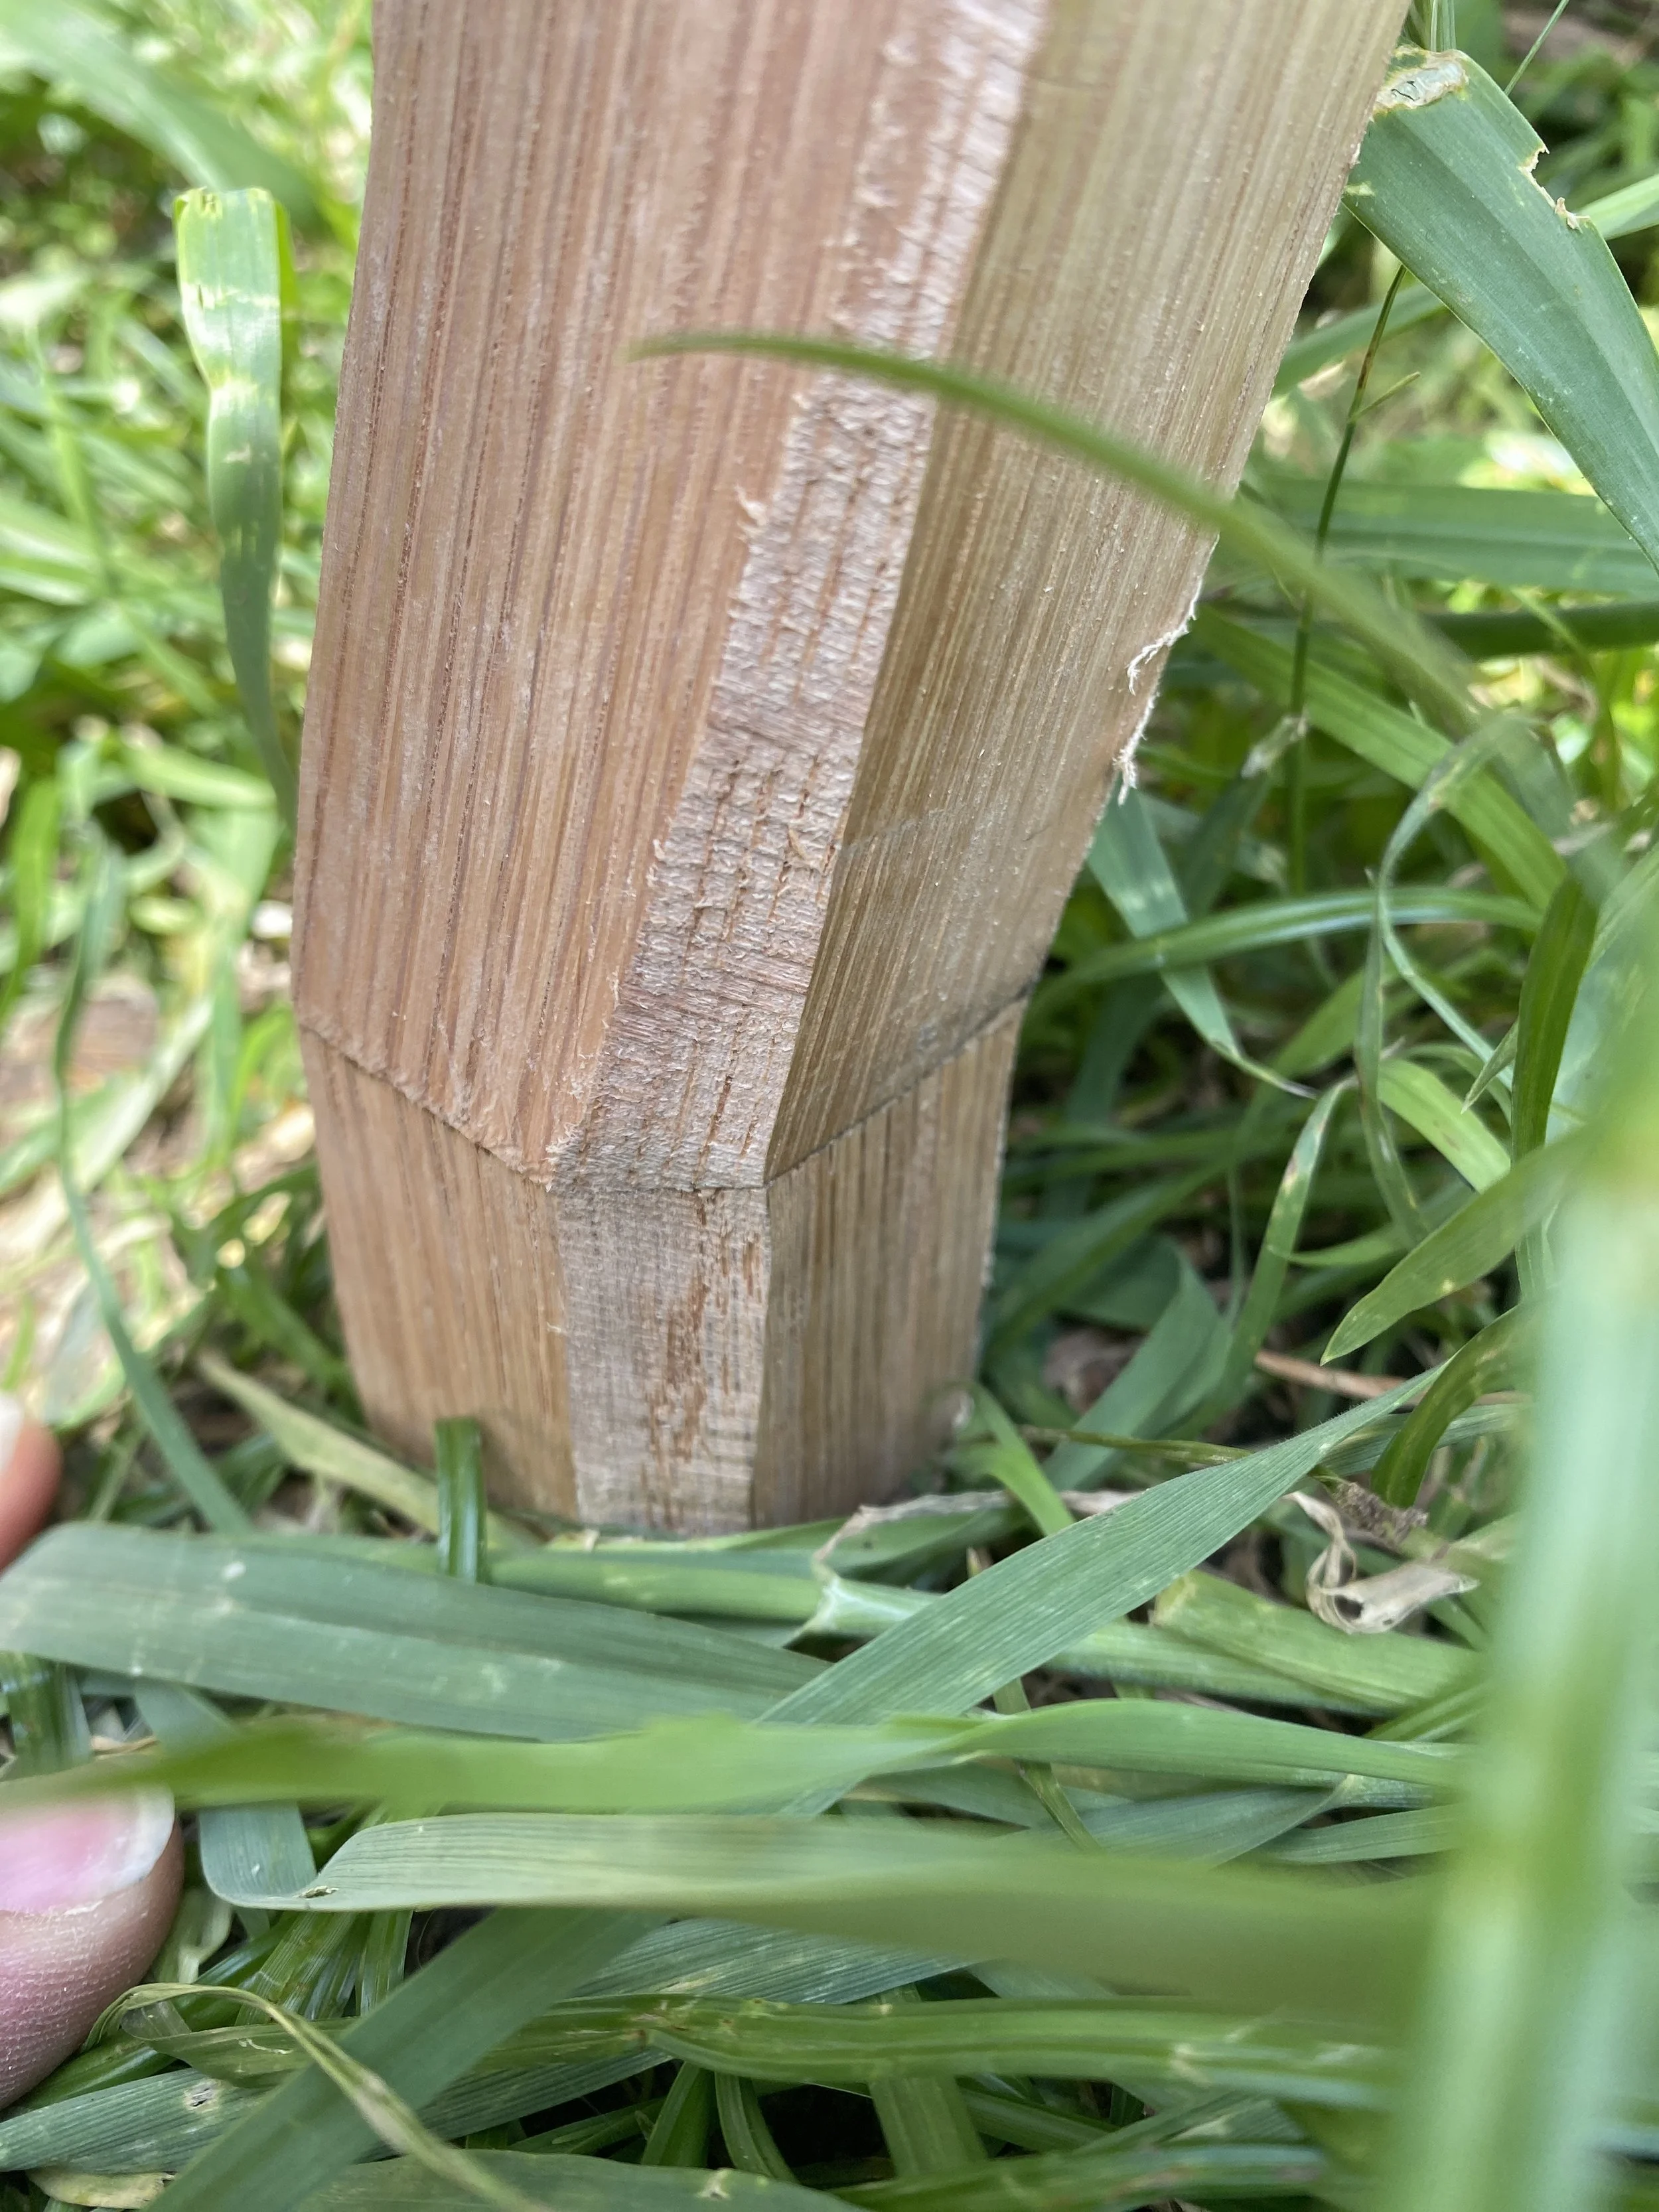
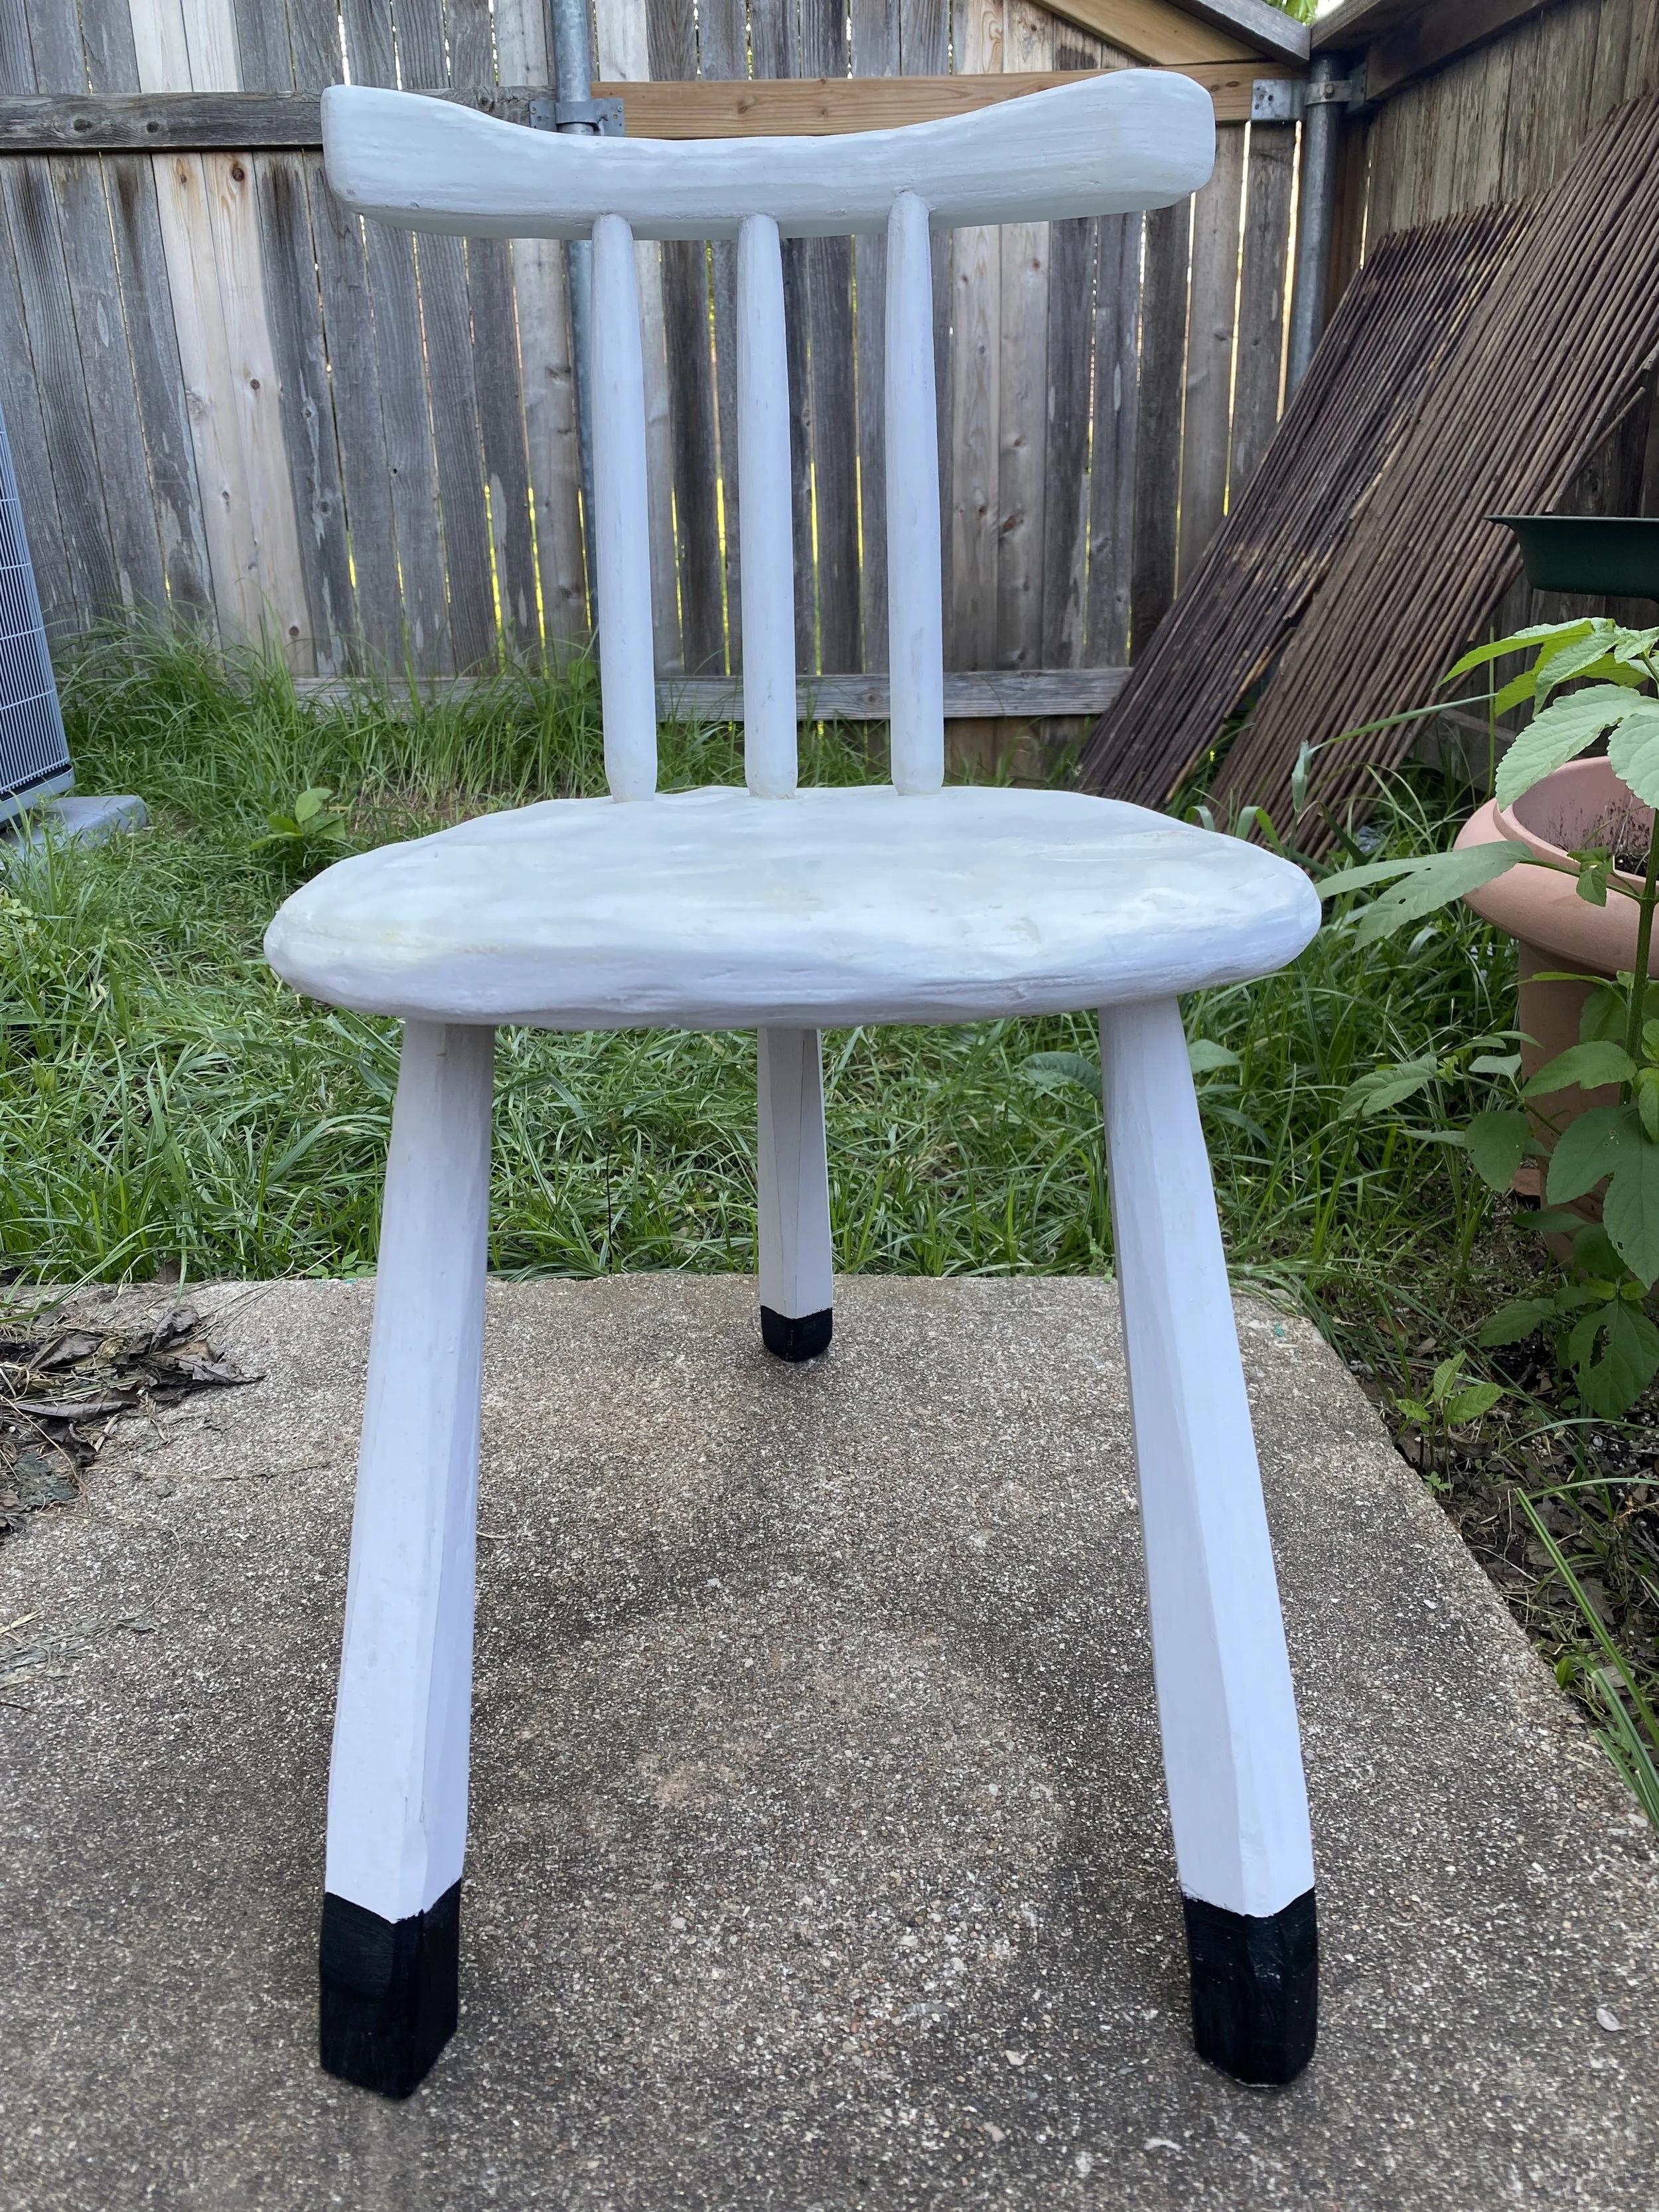
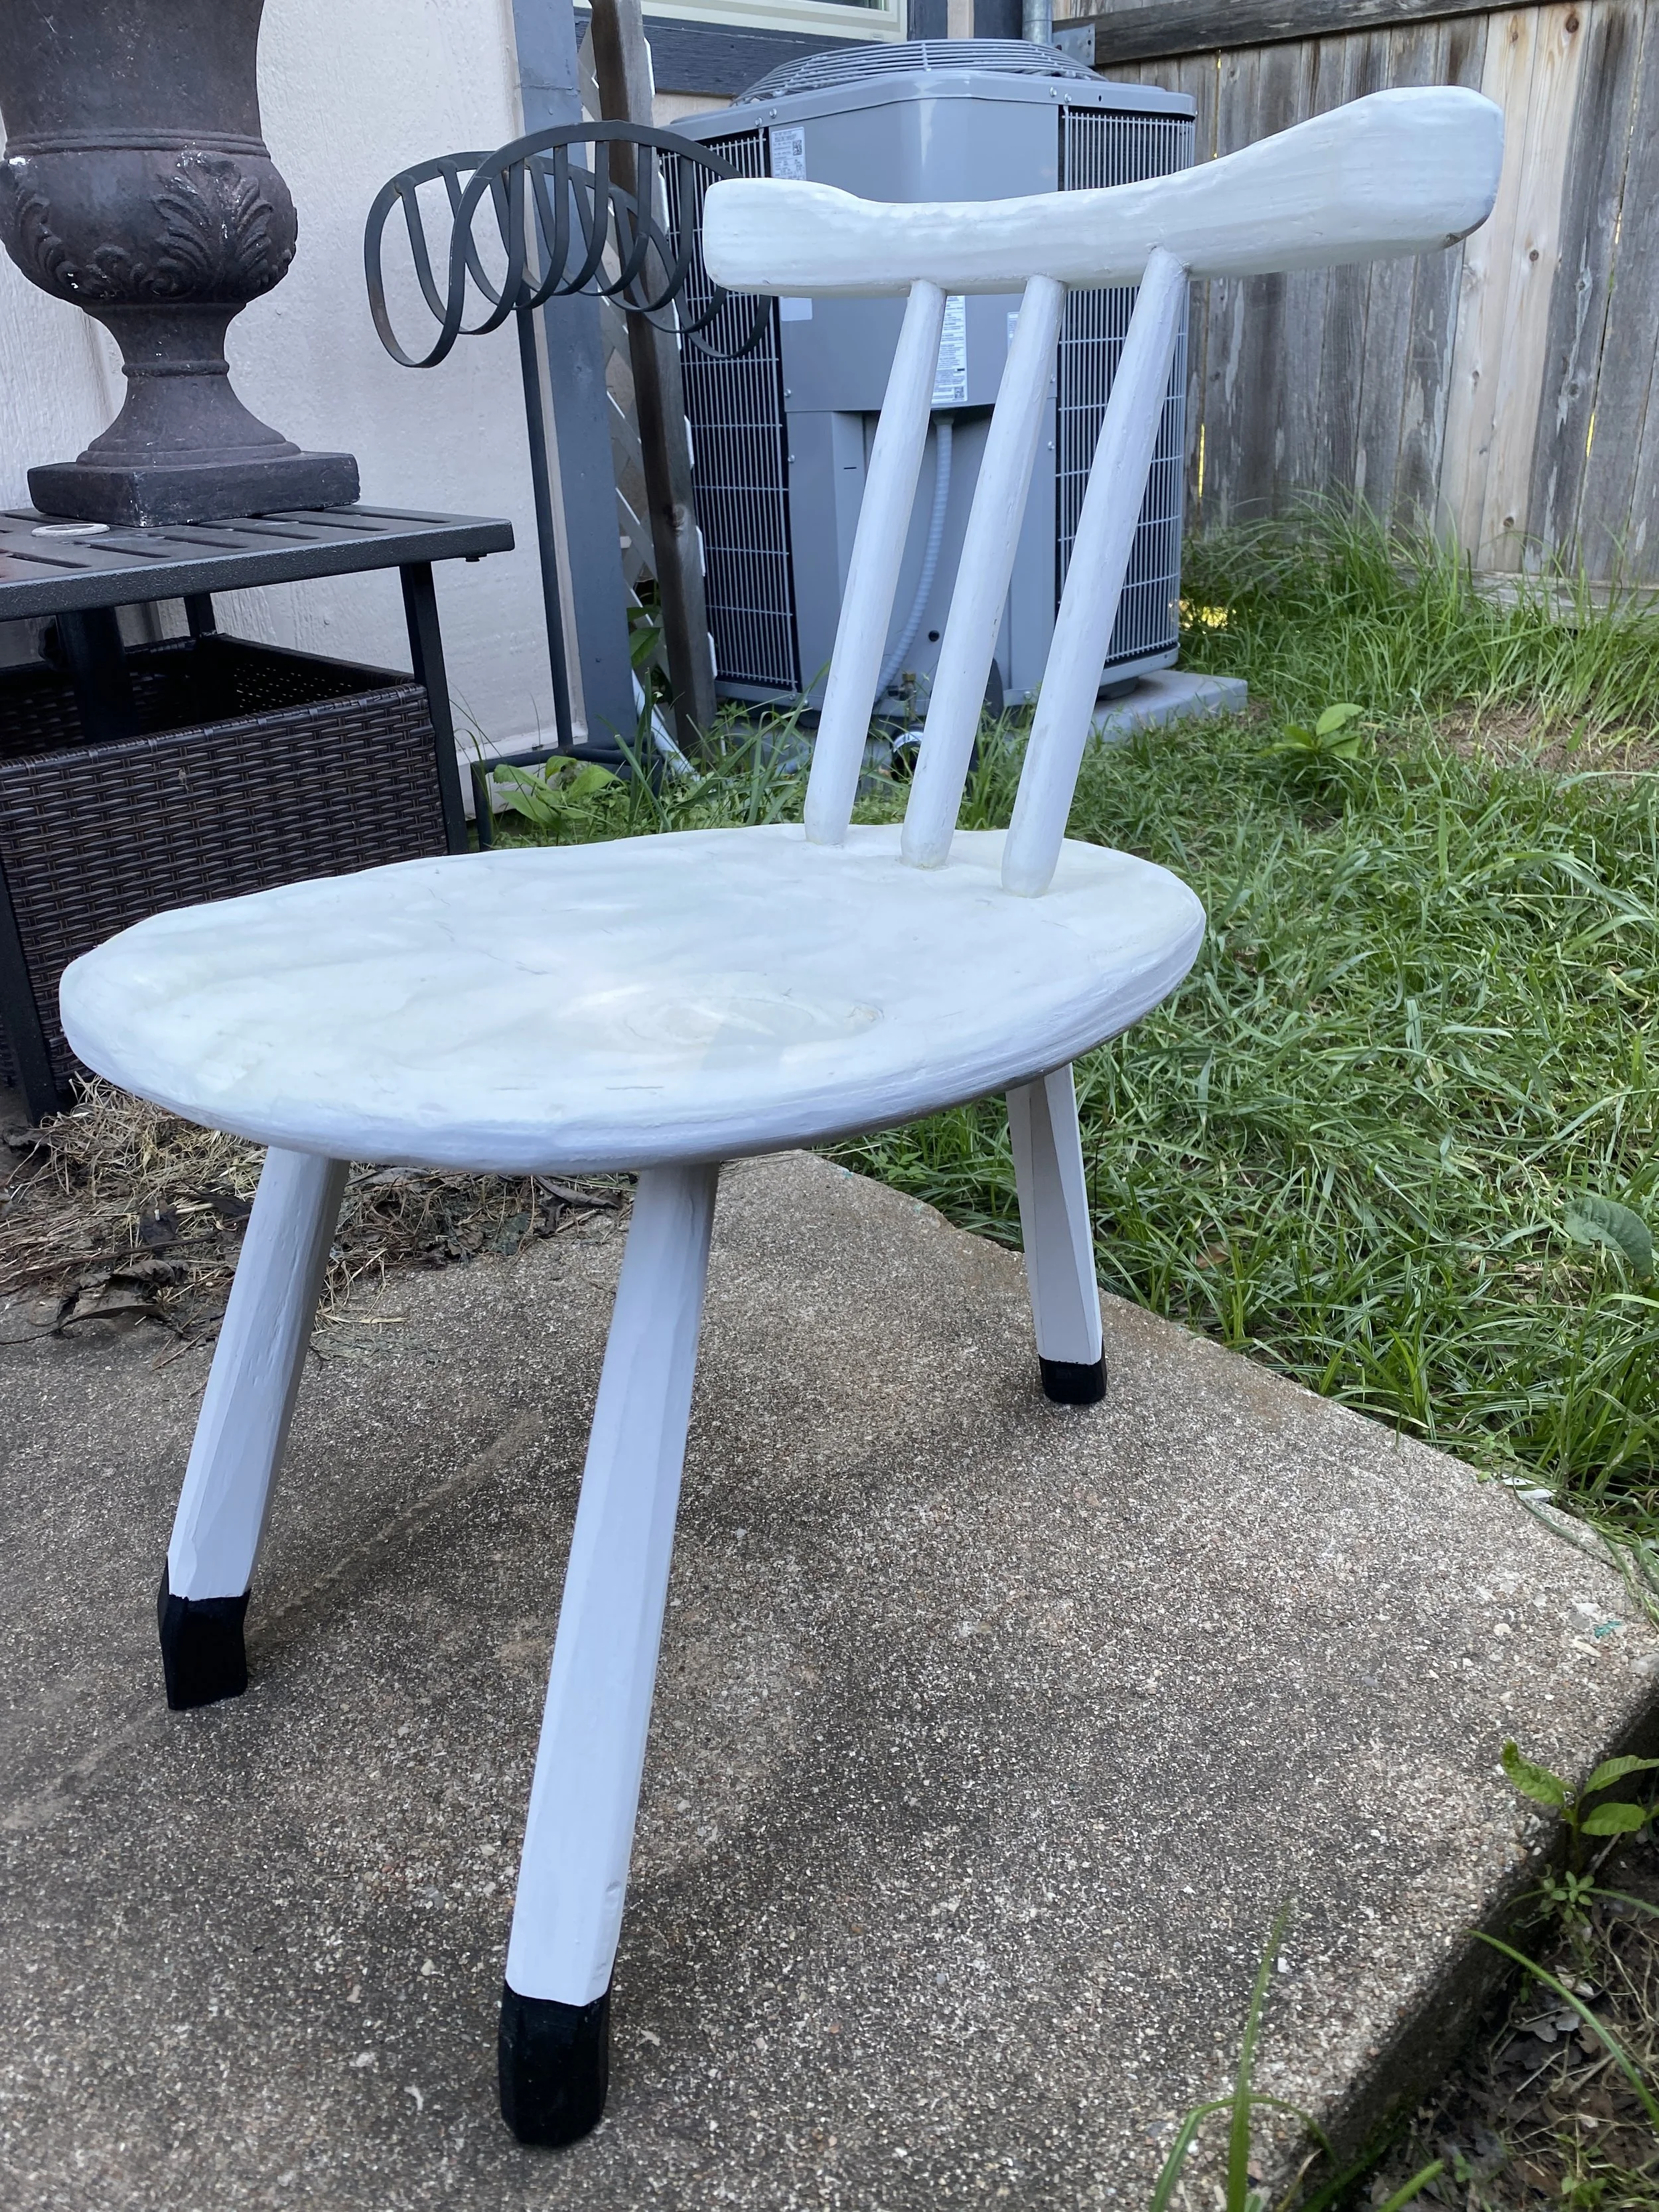
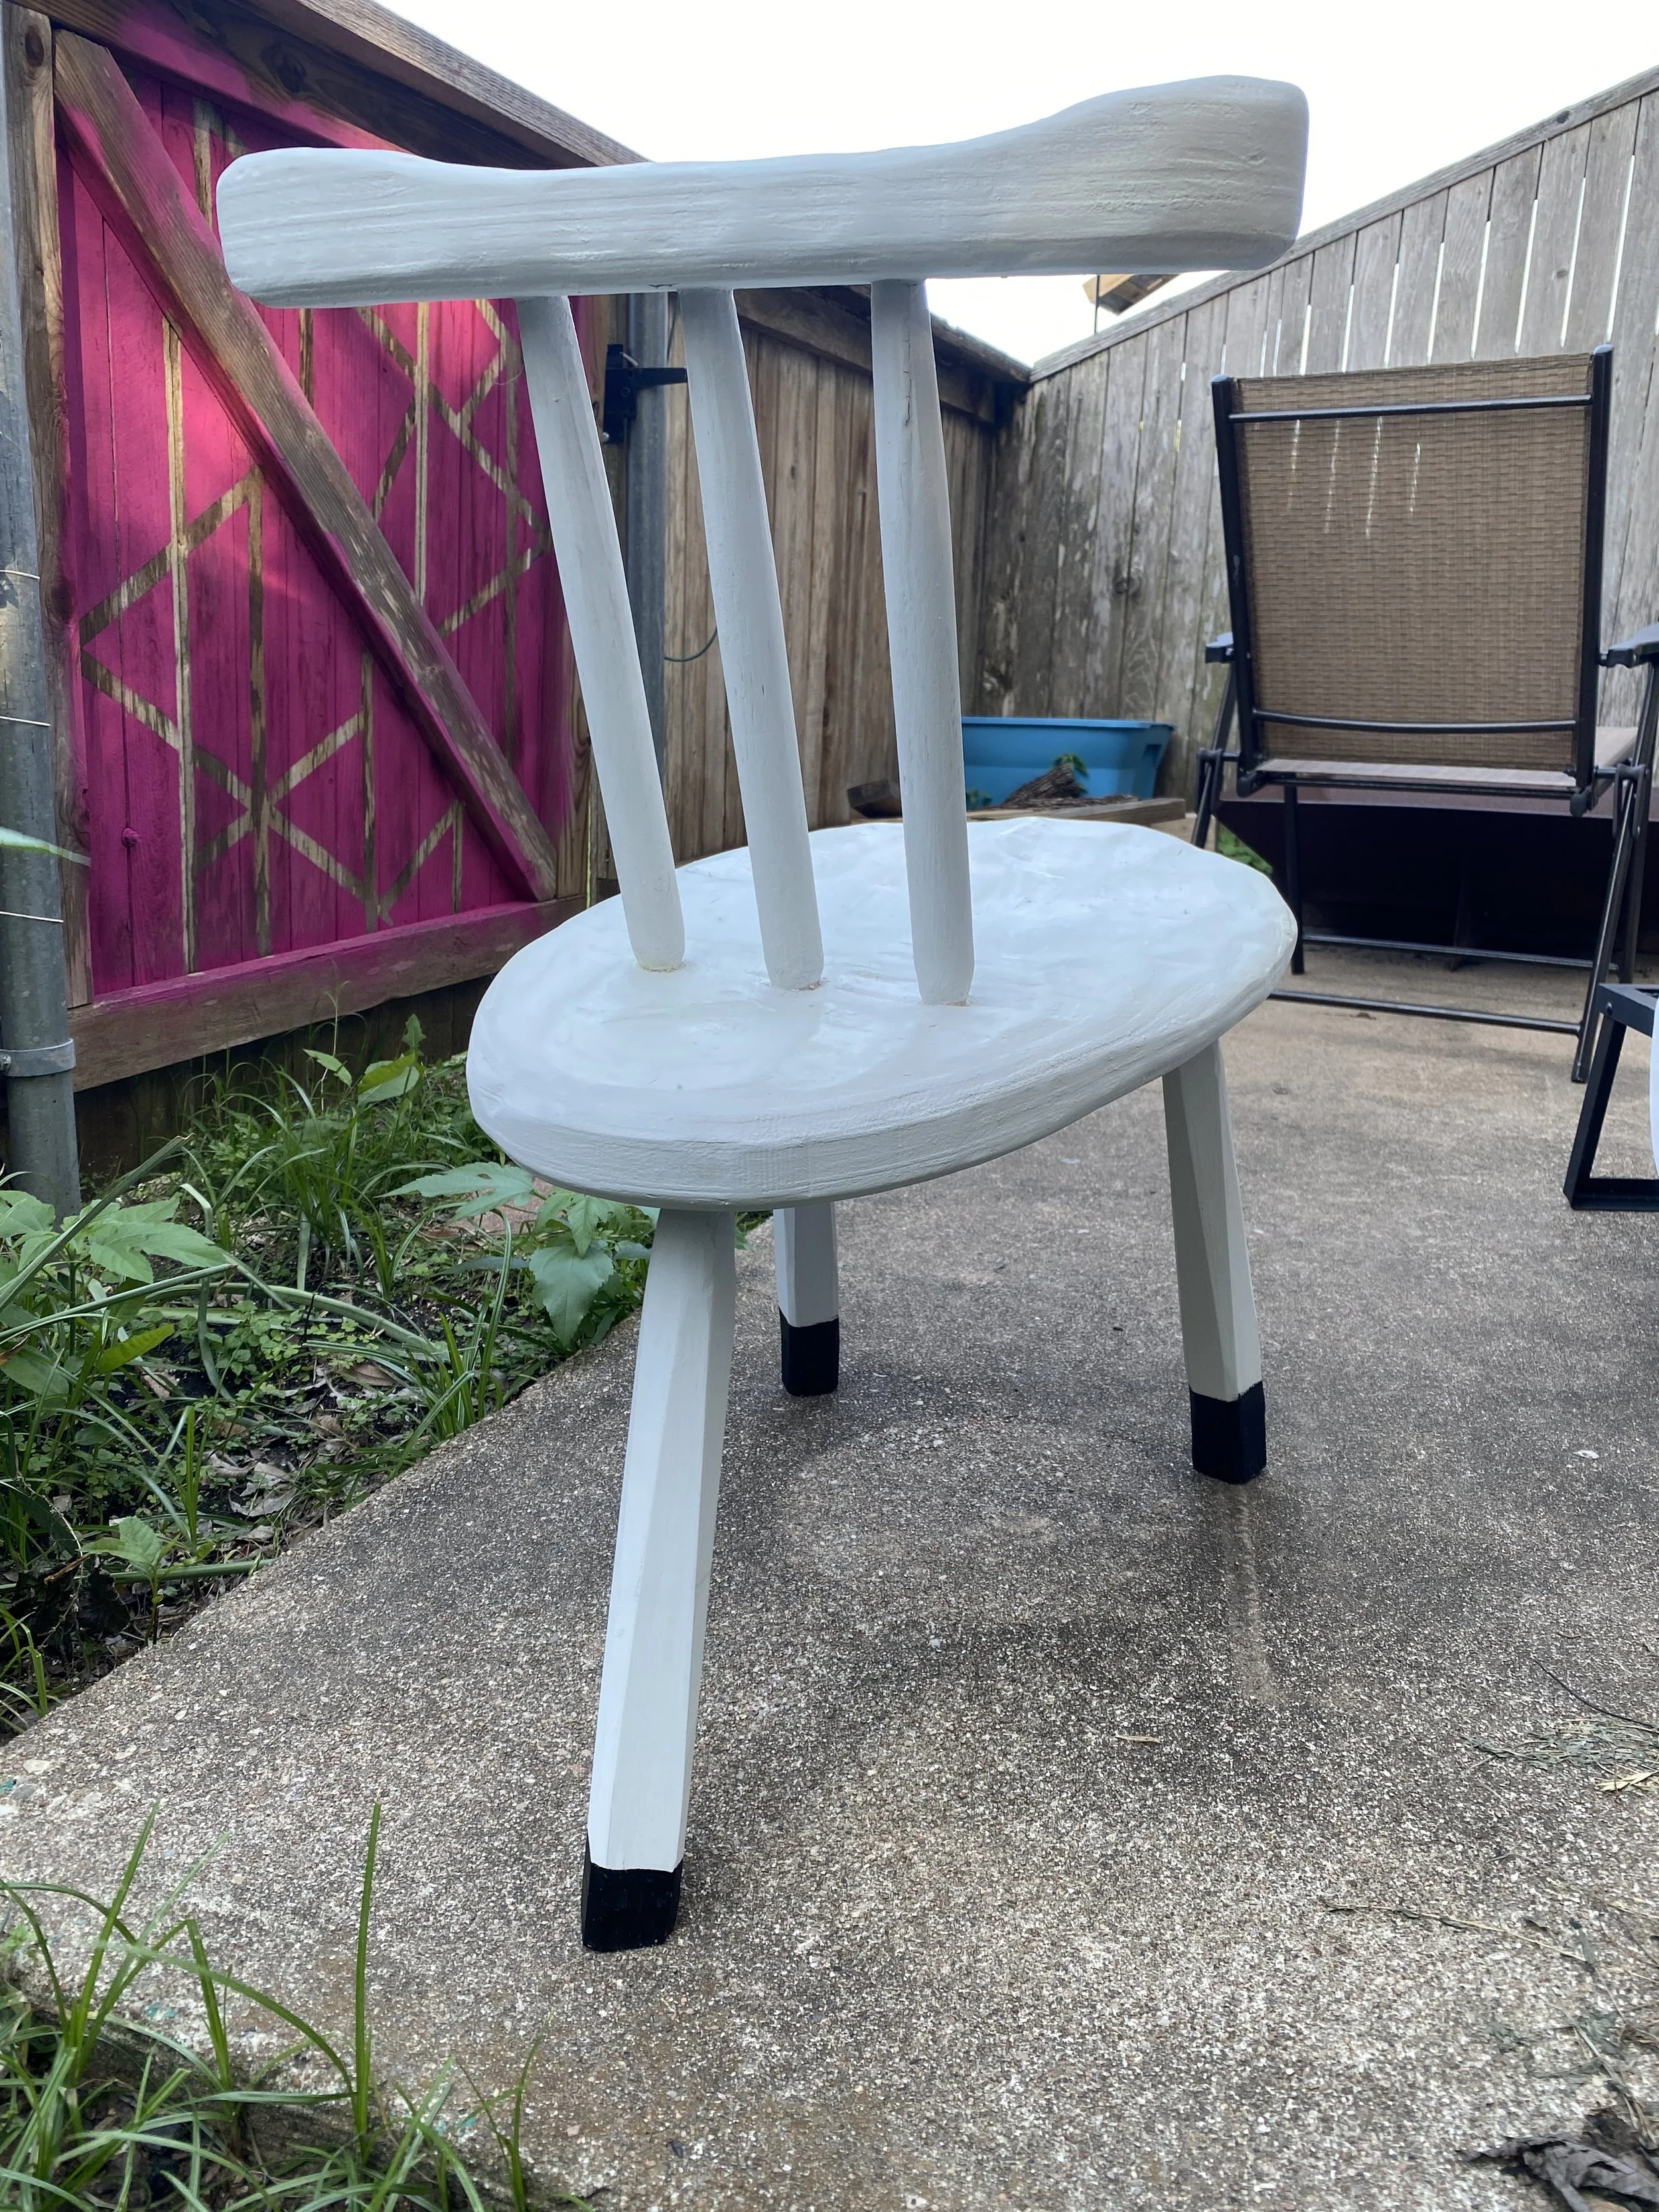
The biggest speedbump was when, having finished the chair, I sat on it, and it was too low. I checked it with my tape measure, and yep, almost 2” lower than I intended. The liquid hide glue was already dried in the joints. I did not want to waste these oak legs. So I resorted to the heresy of a high-tech steel fastener (along with some more glue) to add a little foot to each front leg. The screw is entirely hidden. But it is there, one countersunk in the bottom of each front leg.
Next time, I need to start with legs two inches longer than I think I’ll ever need.
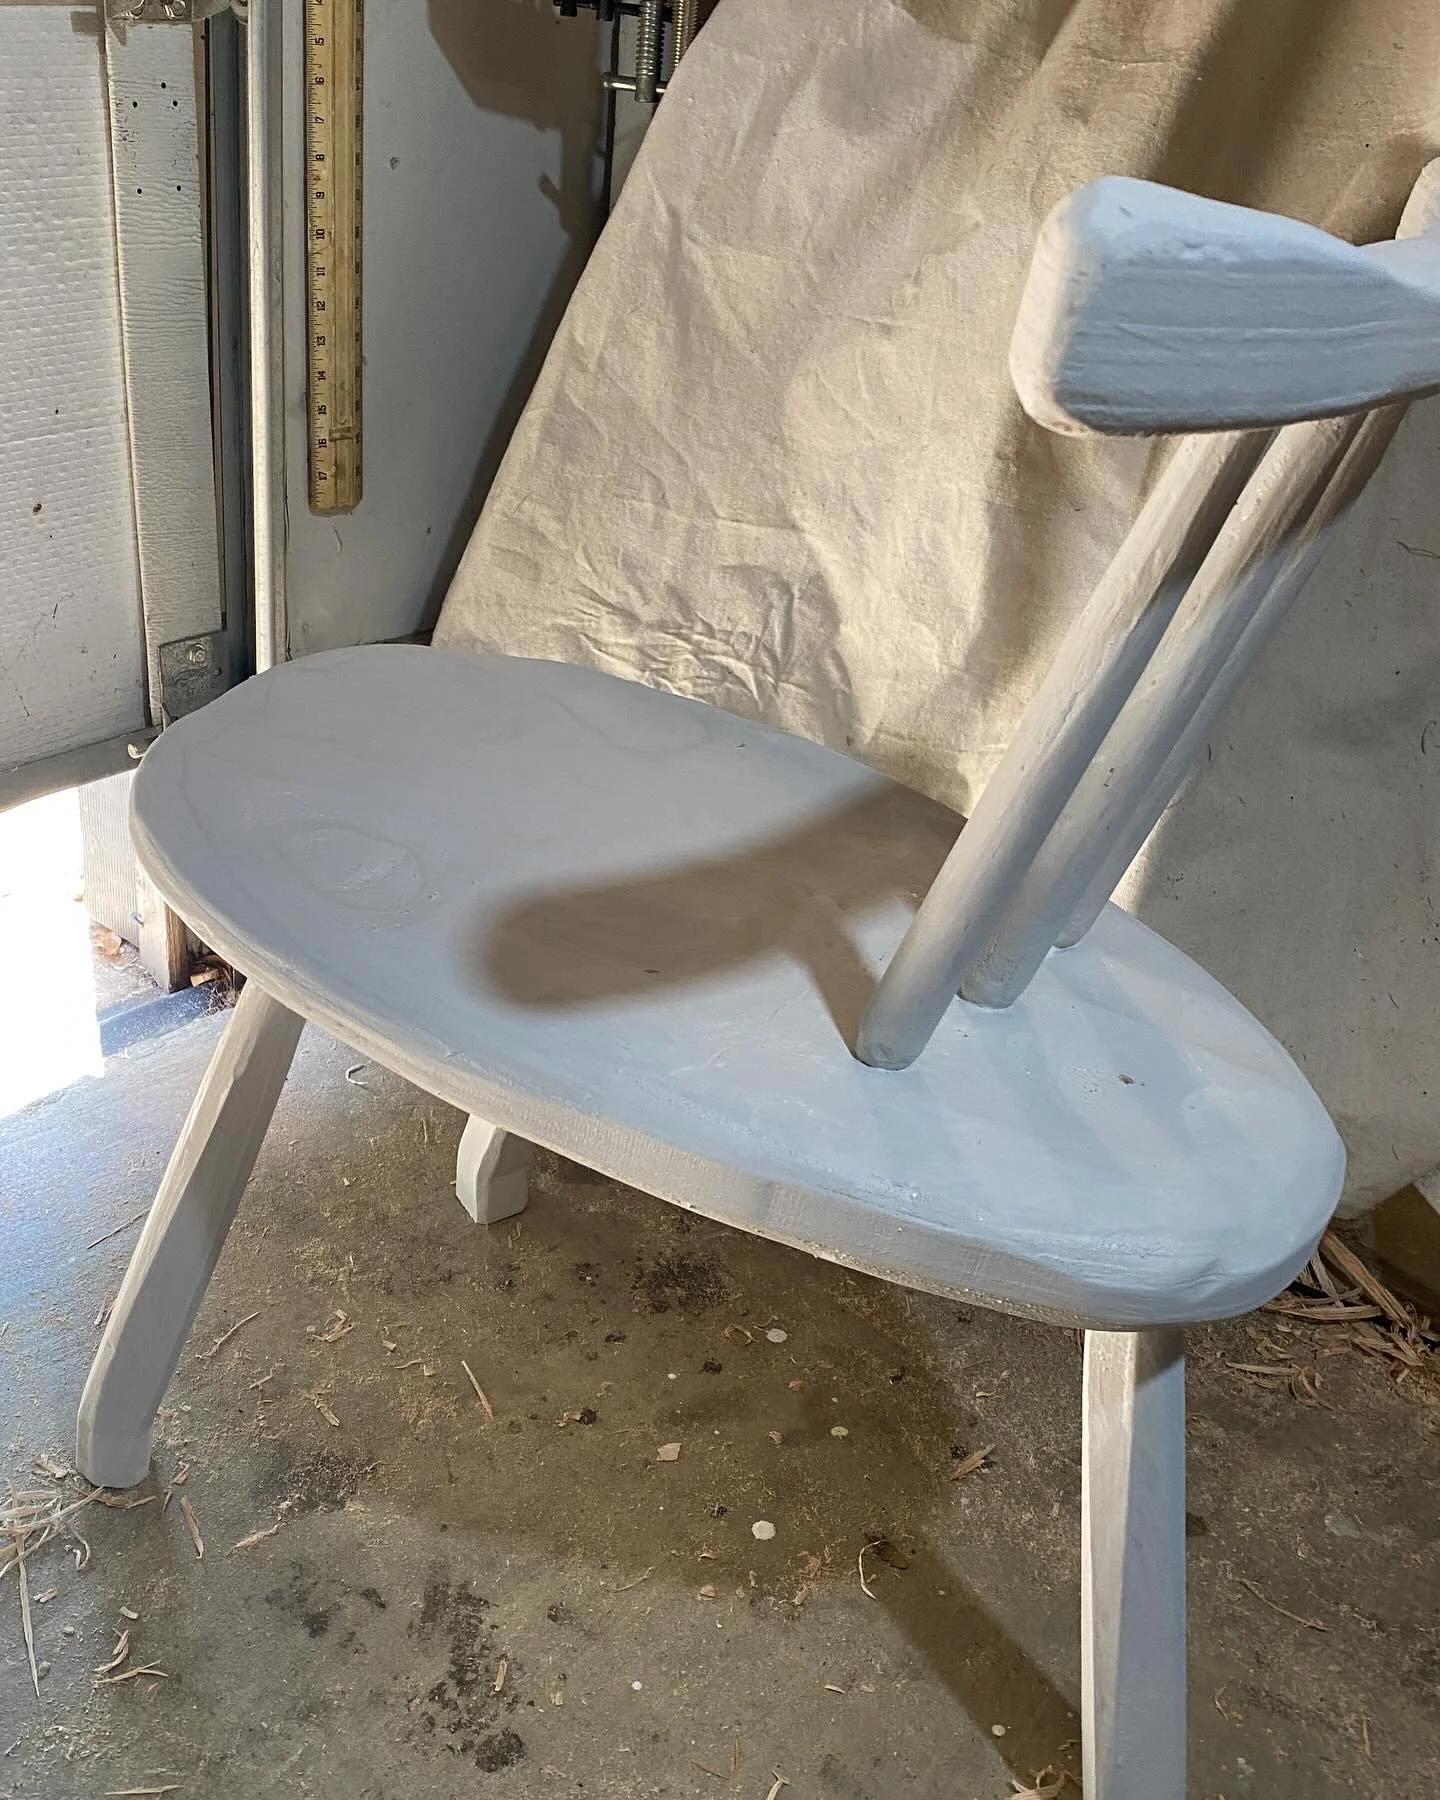
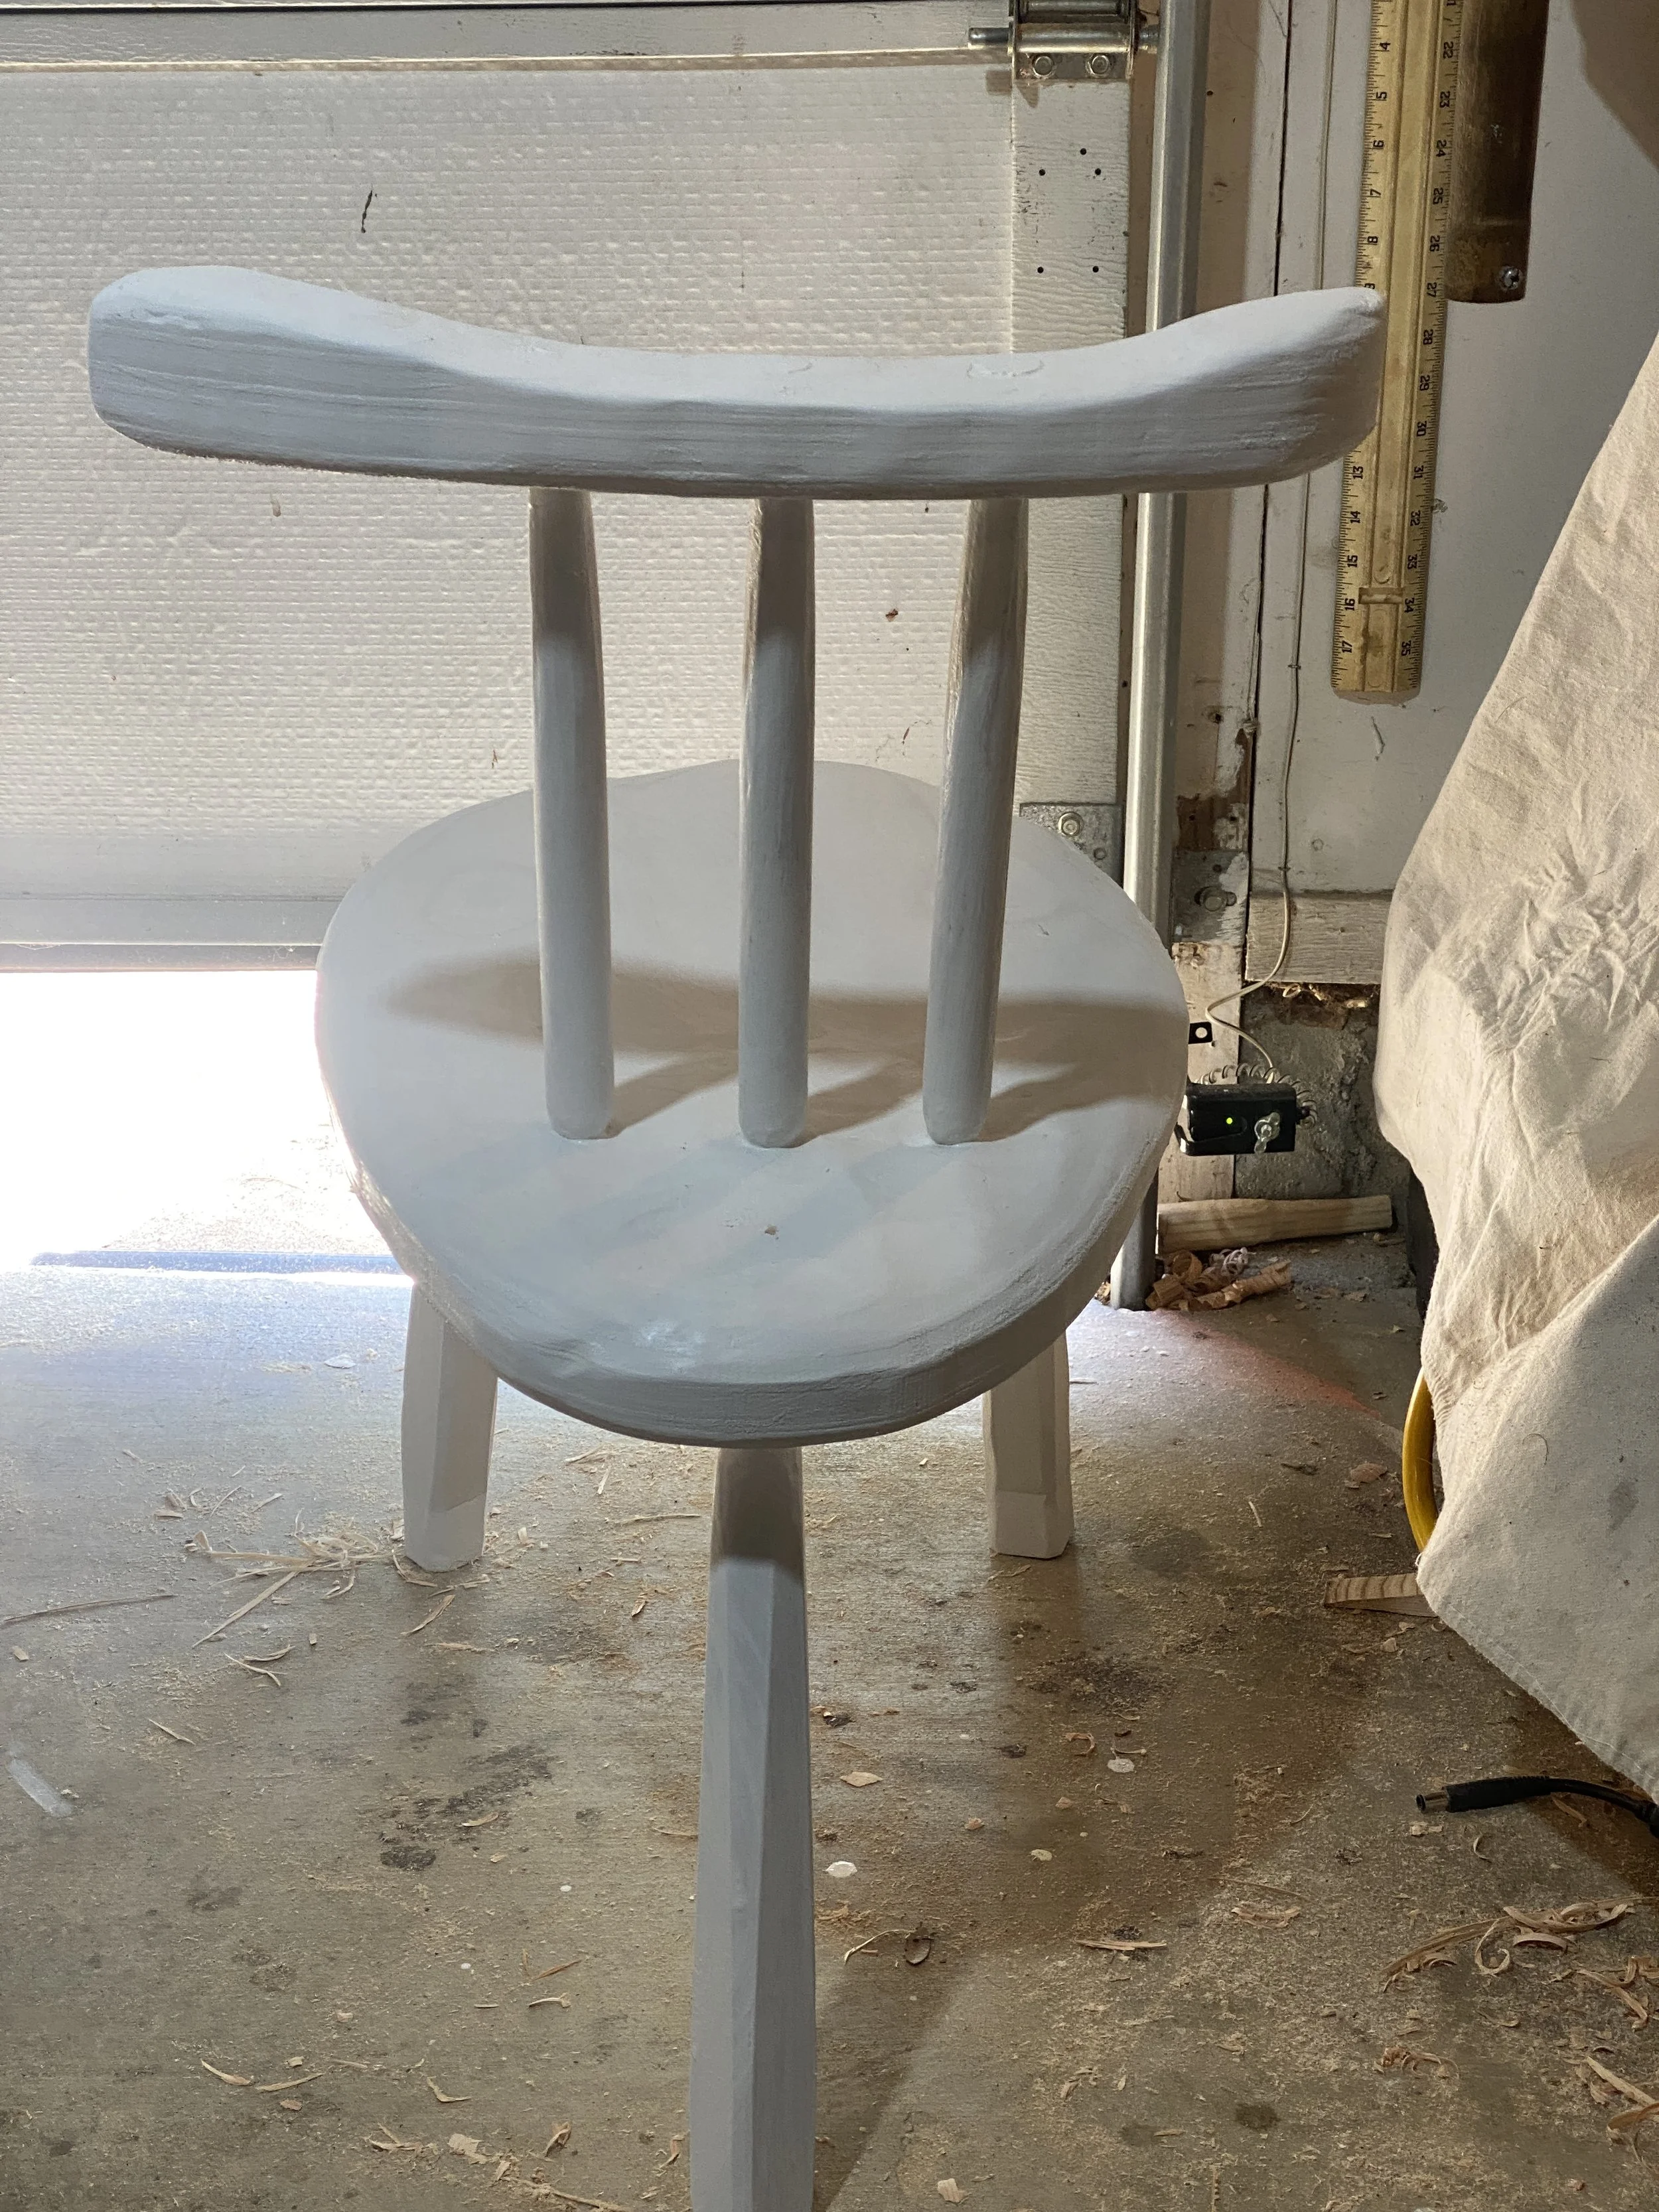
On that note, next time I also need to start with back sticks two inches longer than I think I’ll ever need. When I first fitted the sticks into place the backrest was at a perfect, comfortable spot midback. After shaping the leg sticks, the backrest was now about inch lower, at a less comfortable spot. My partner and I are of a similar size, and this is my only test pool thus far. But it went from comfortable to uncomfortable for both of us. I’ll review my books and try to make a more inclusively comfortable backrest in the future. Since I am laminating plywood, I can easily make the backrest as thick as I want, to handle a broader range of frame sizes.
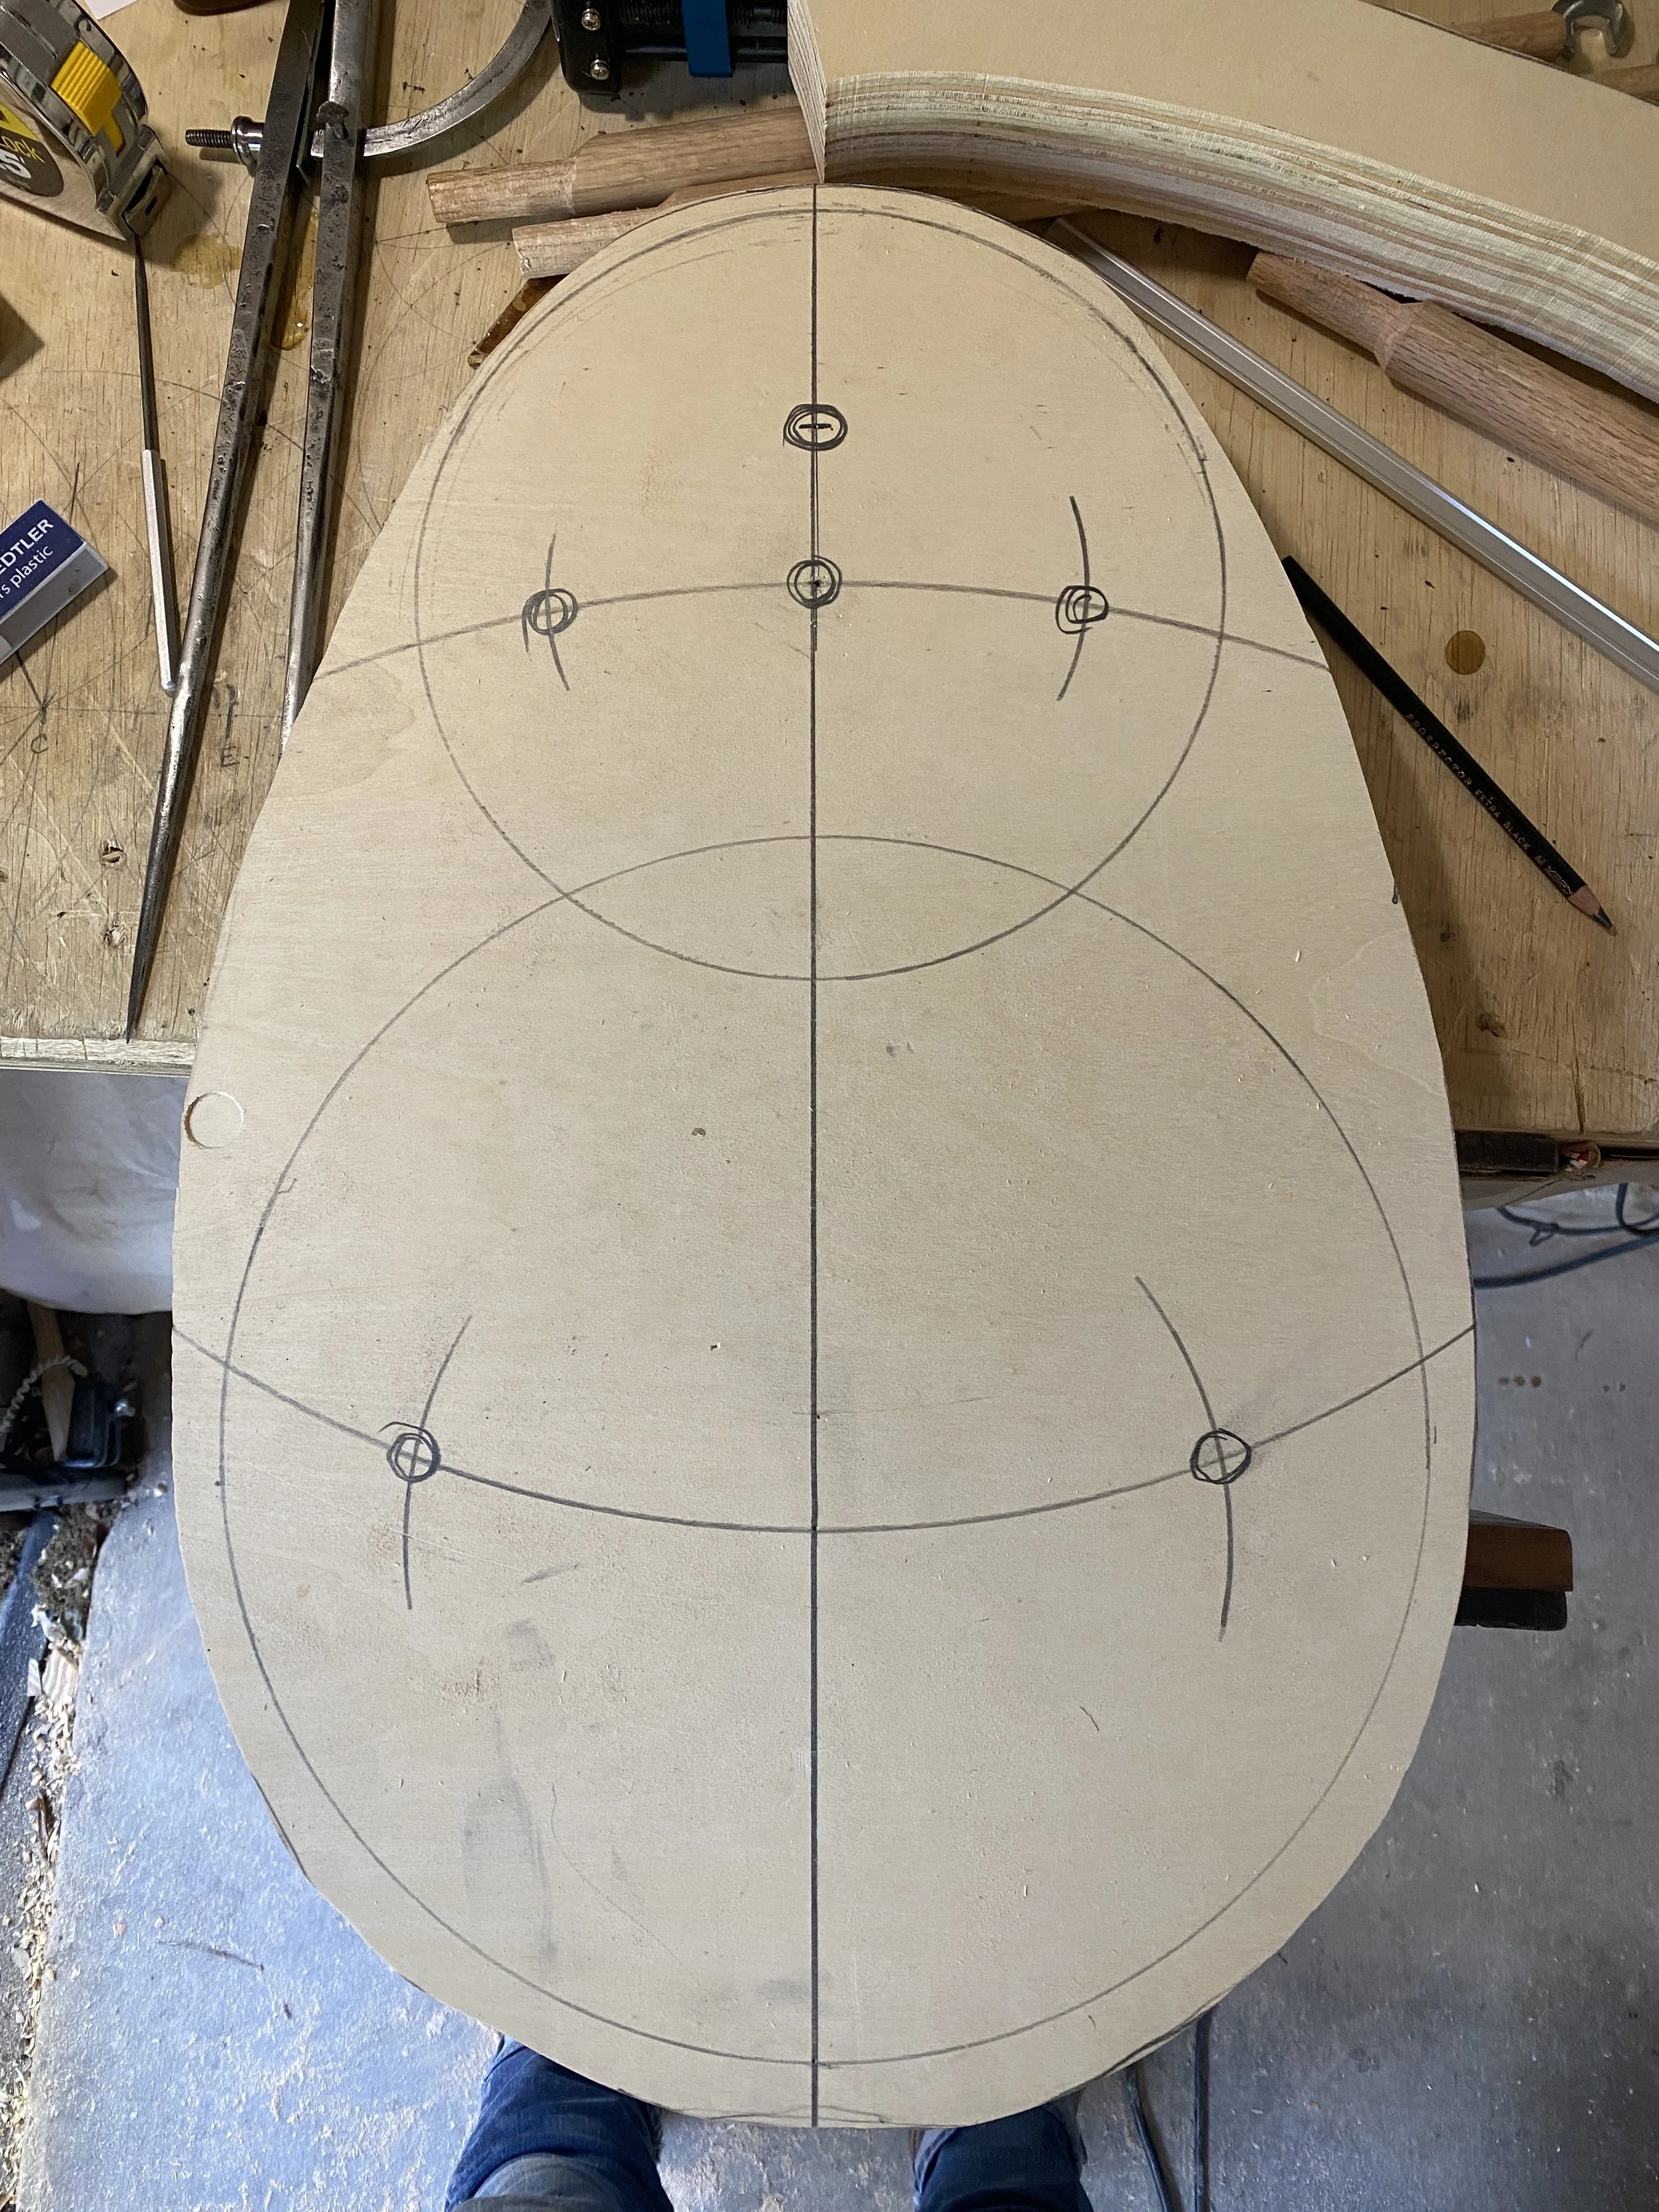
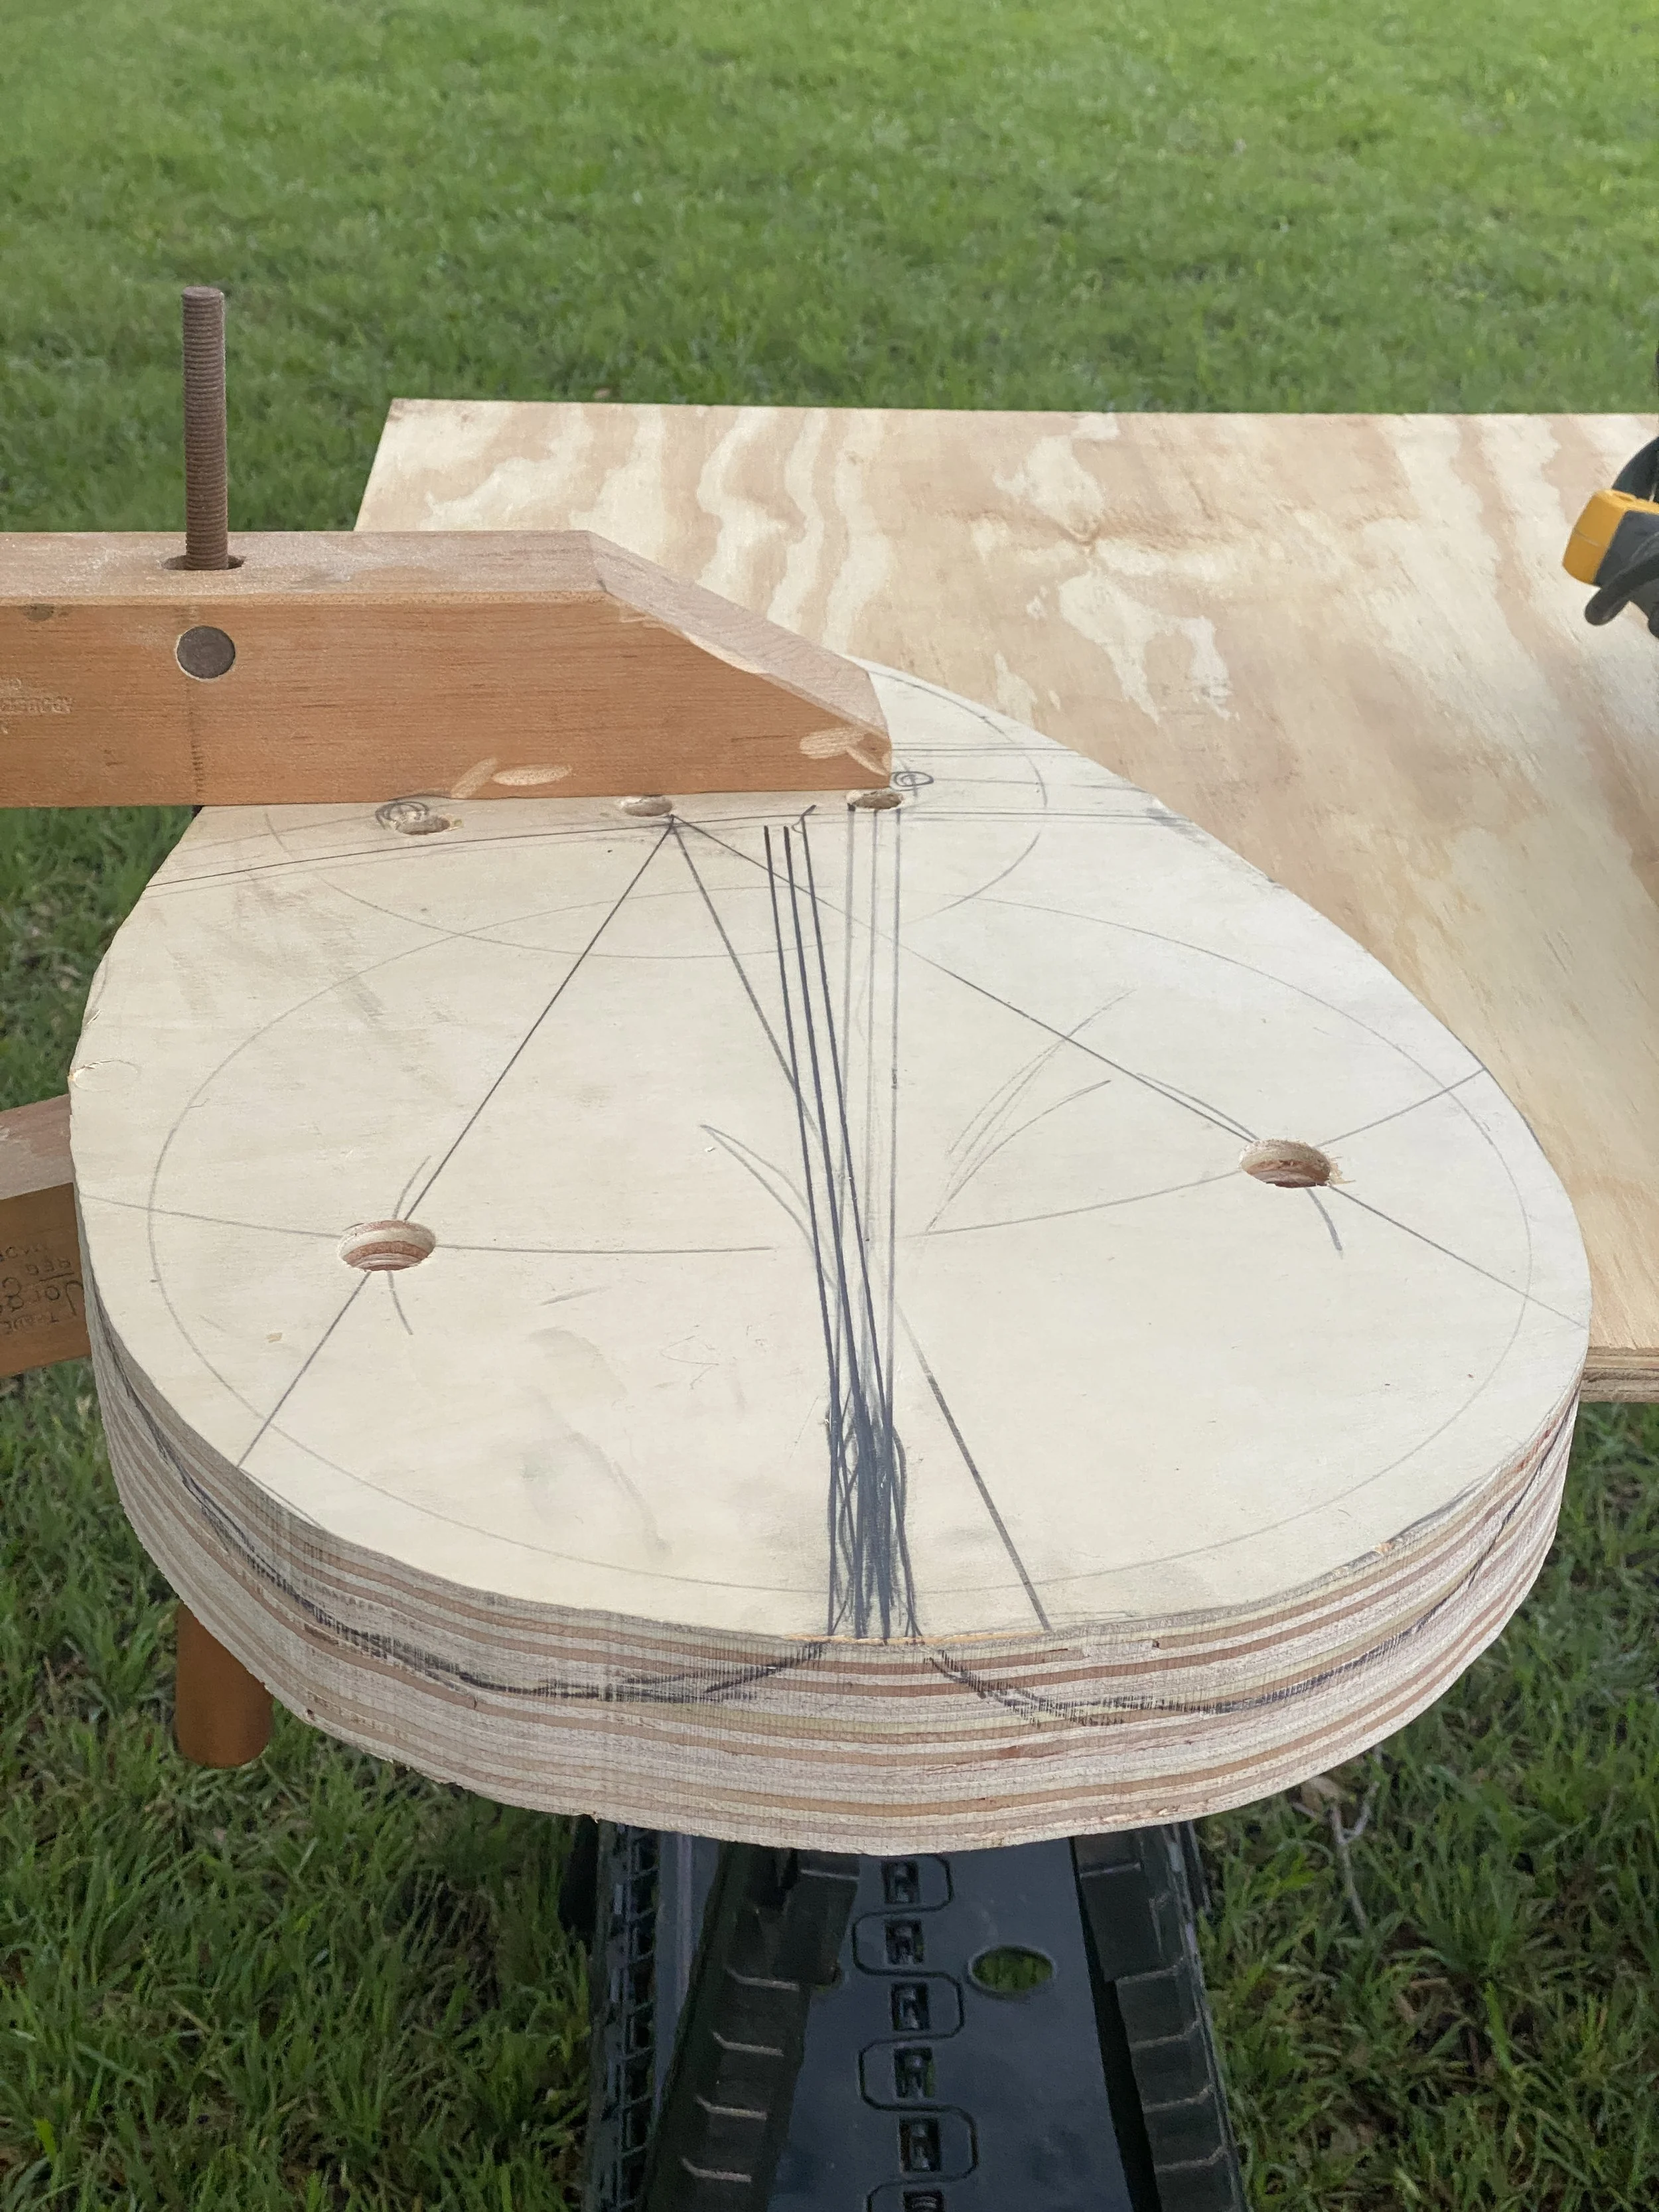
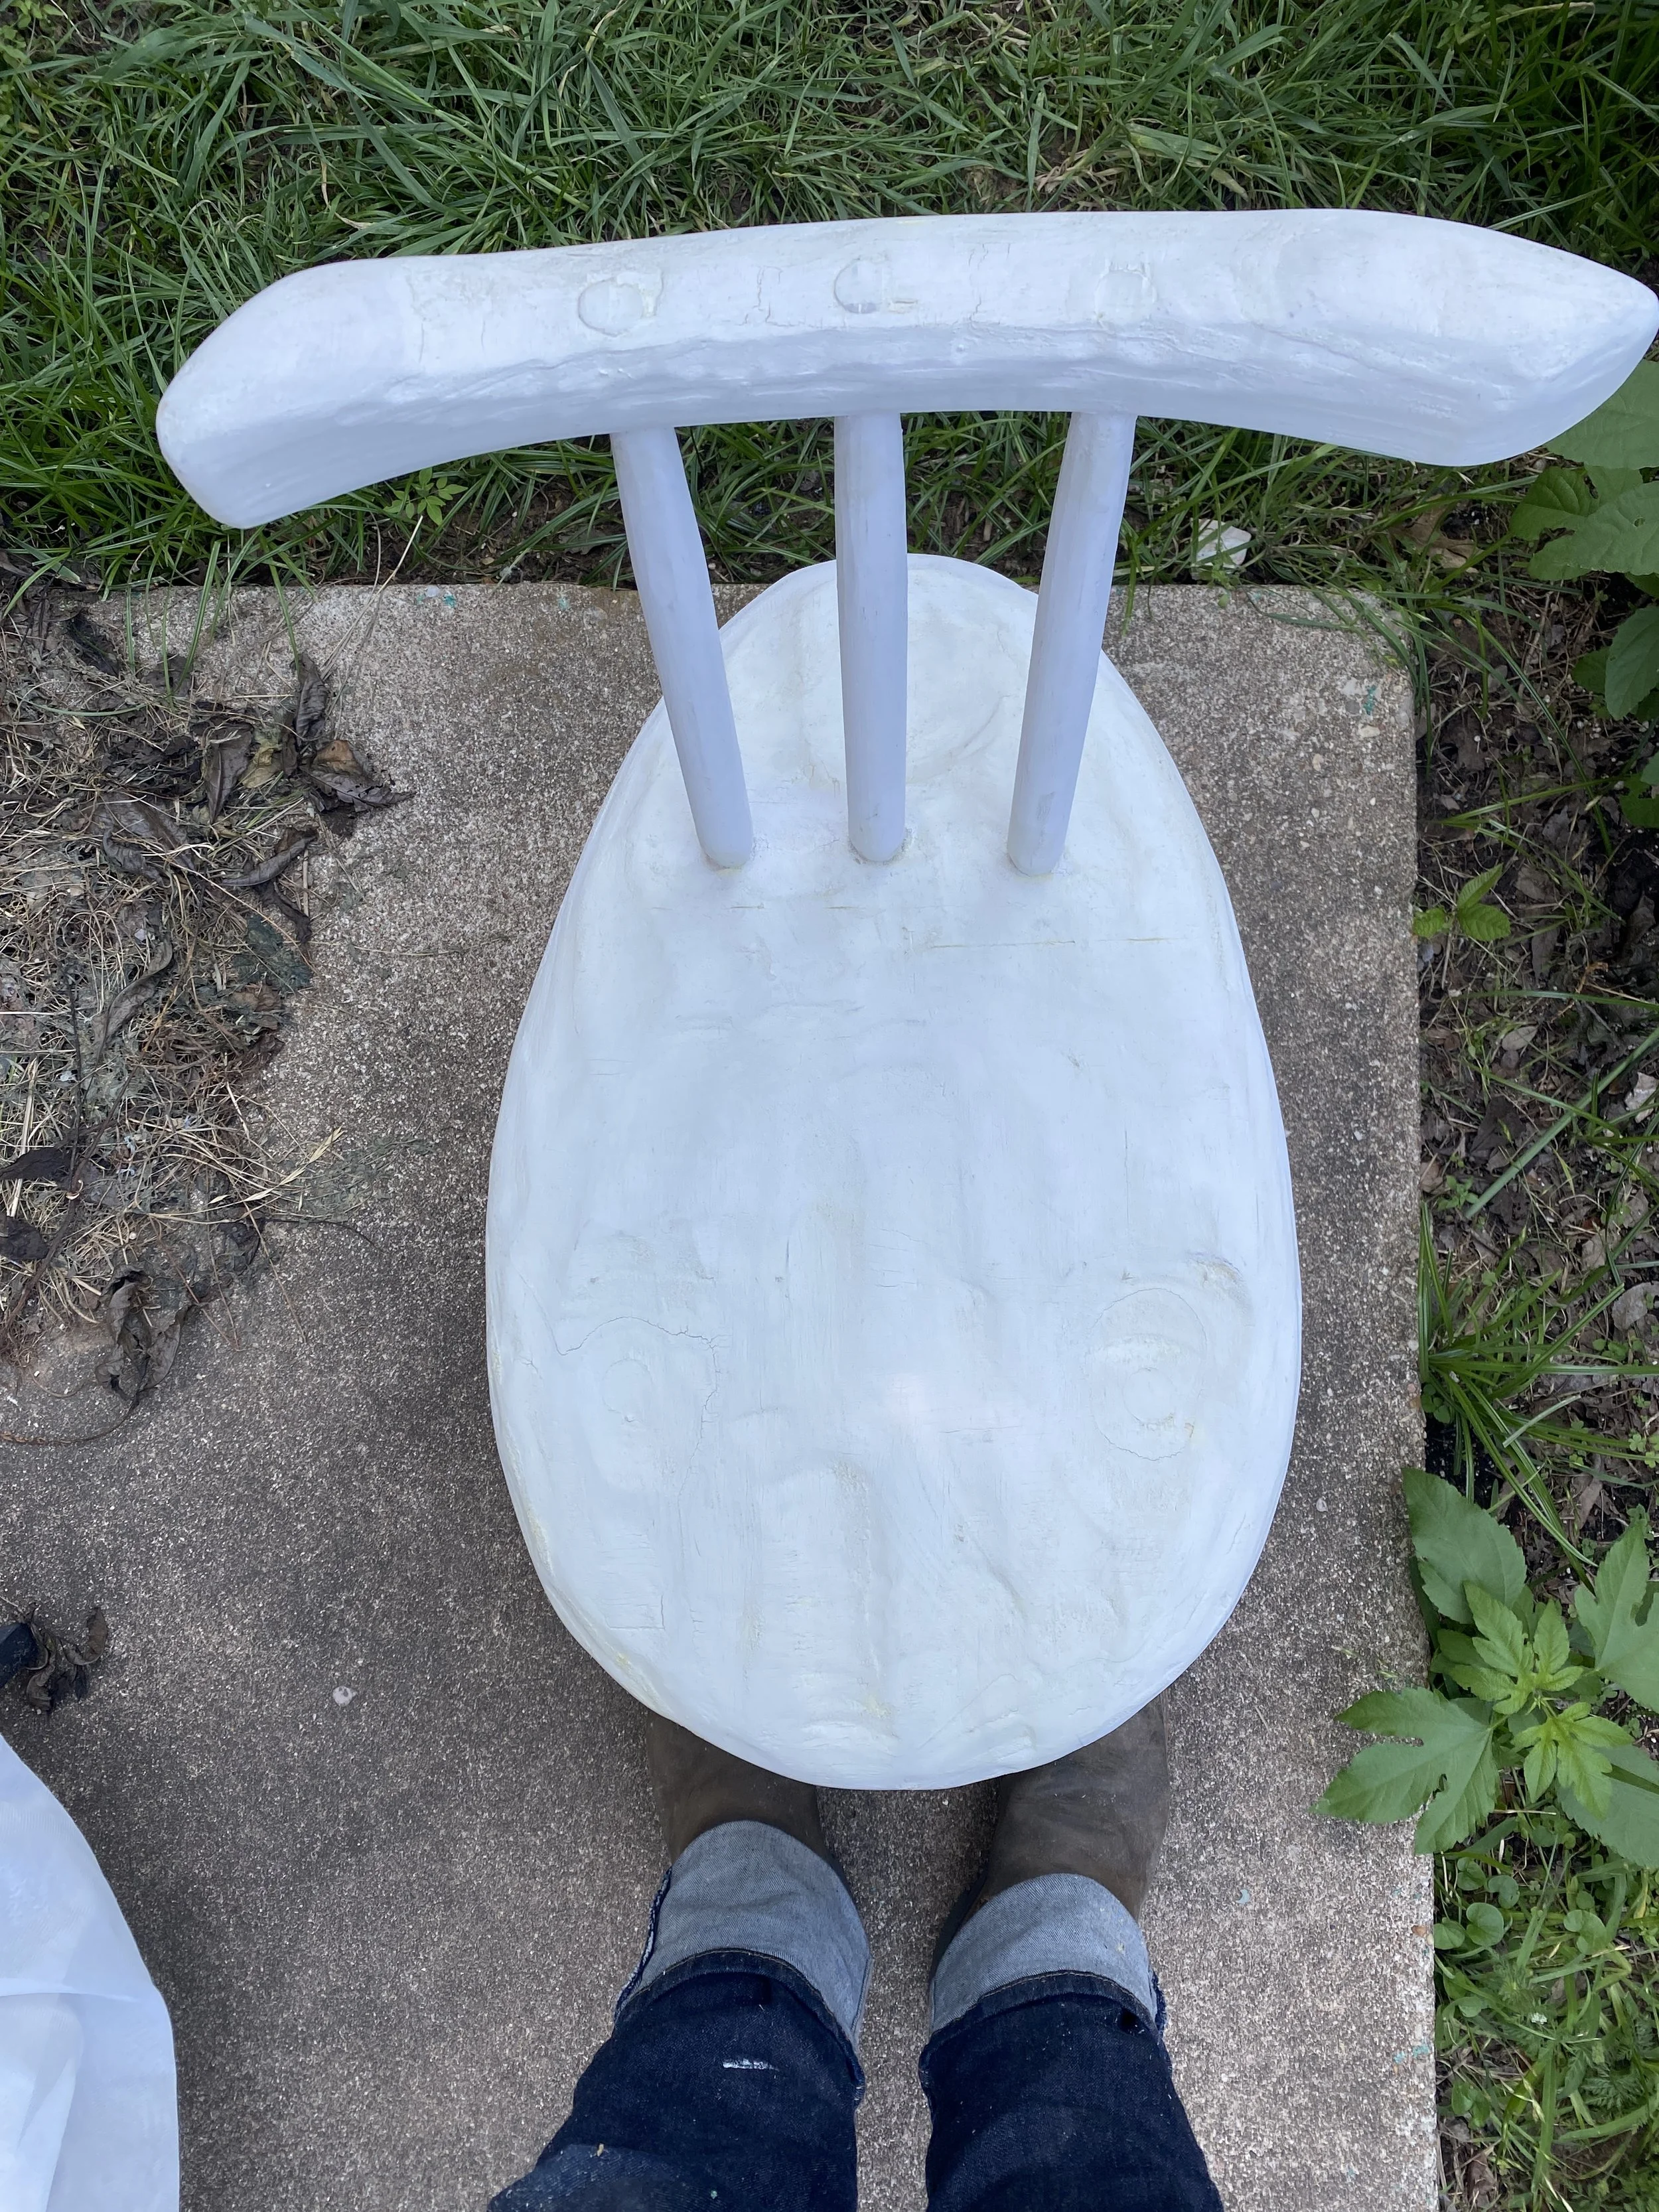
I ended up simplifying the design and made all the back sticks parallel. This made it easy to sandwich drill. Next time I’d like to add some angled sticks. (I have a plan that does not involve an elaborate jig.)
Since I had to make little feet for the front legs, I decided to add black sox to tie in the feet. This also helps to make the white paint (which I had expected to turn out a little more grey) to really pop! So I’m actually glad I had to make the feet and add the sox. Now, to figure a good wood joint for a foot, to eliminate the high-tech screw.
All in all, pretty good experience. Proud of Chair No. 1!